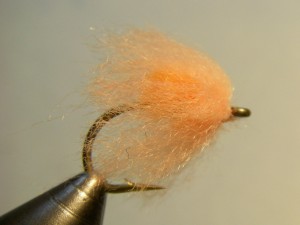
The Nuke Egg is one of the first egg fly patterns to be considered “advanced” – that is, one that goes beyond the single dimension and solid-looking Glo Bug. The veil of egg yarn over the nucleus is what gives the Nuke Egg its translucent appearance and separates this fly from so many other egg patterns.
The color combinations are endless, but some favorites are: Chartreuse over Flame, or Flame over Cerise – both attractors with realistic combinations including: Egg over Sockeye, Pink Lady over Shrimp Pink, Apricot Supreme over Steelhead Orange, Salmon Egg over chartreuse or everyone’s favorite, spring or fall: Oregon Cheese over Steelhead Orange.
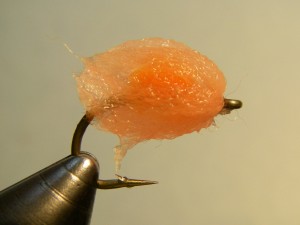
Wet Nuke Egg
You can choose to use a variety of materials for the nucleus including: dubbing, chenille, Braids, or McFly Foam. By mixing this material up, you can create unique patterns with just the right color or the little sparkle you have been looking for.
Depending on water conditions, whether you are imitating steelhead or salmon eggs and the stage of the egg itself (how long they have been in the water), play around with how sparse you tie this pattern to achieve the right size as well as color and translucency. Notice how natural this fly looks when wet.
This pattern design is responsible for bringing a lot of fish to the net through the years -be sure to have a nice selection of your own in your fly box.
Nuke Egg Fly Recipe
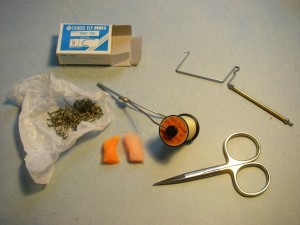
Hook : TMC 105 #6-10, TMC 2457 #8-12 Gamakatsu C14S #8-12
Thread: Uni 6/0 – Lt. Cahill or color to match veil
Nucleus: Egg Yarn – Steelhead Orange
Veil: Egg Yarn – Apricot Supreme
Tying Instructions
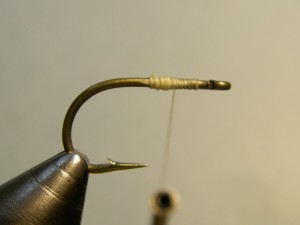 Step 1. Put hook in Vise and wrap a thread base from eye back to just above hook point.
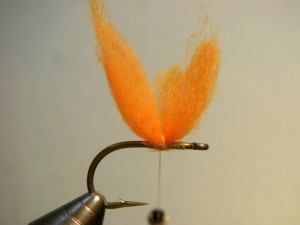 Step 2. Take a very small amount of yarn for the nucleus – aprox. the diameter of your whip
finisher handle. Lay parallel to the hook shank and tie down with a few wraps in the center.
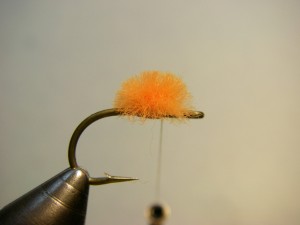 Step 3. Hold both ends of nucleus upward and trim very close to the hook shank – aprox. 1/8”.
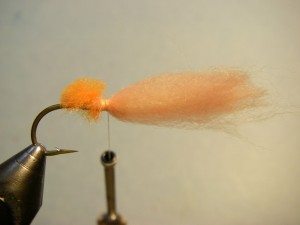 Step 4. Take 1 inch of veil yarn – the amount/thickness should be aprox.
4 times the amount that of what you used for the nucleus and tie in so
yarn extends forward. Be sure to evenly surround the hook shank with yarn.
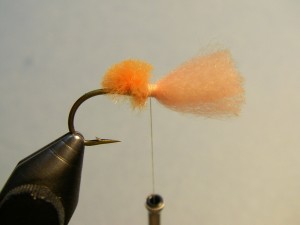 Step 5. Trim yarn so it is aprox. the length of the hook shank from the tie in point.
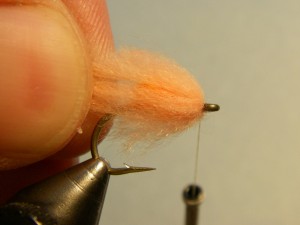 Step 6. Carefully manipulate the veil material backwards – around the thread – evenly surrounding the nucleus.
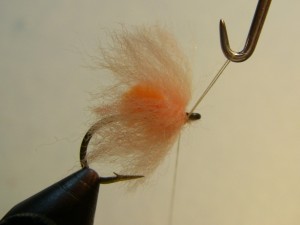 Step 7. Wrap thread a few times between the veil and the hook eye to make
sure veil wants to stay backwards covering the nucleus and then whip finish.

