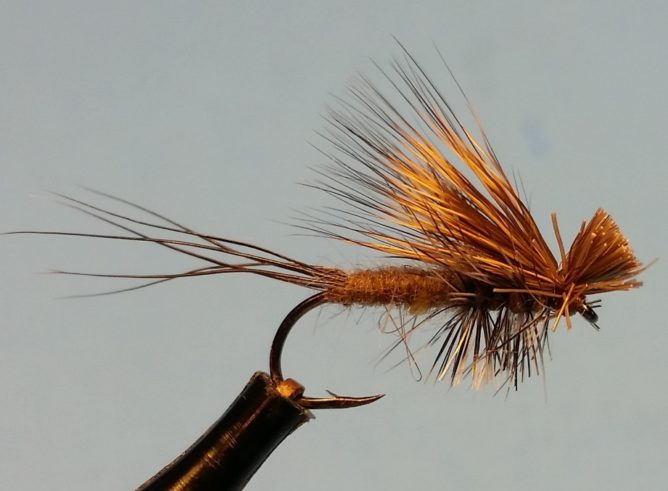
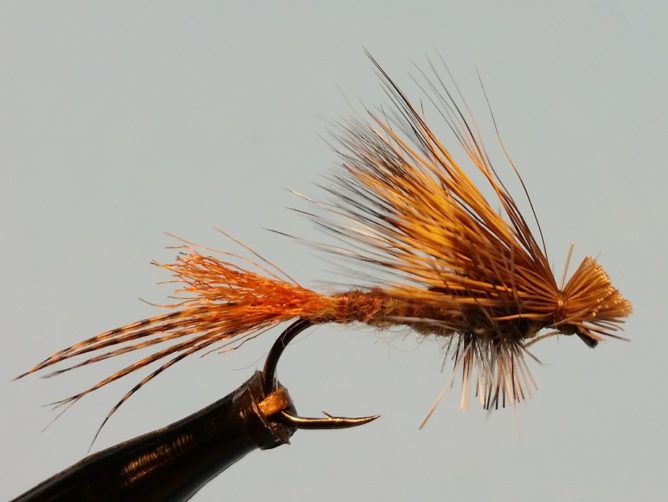
When some of the local rivers maintain temperatures in the mid-50s, you can expect to see Hendrickson mayflies (Ephemerella subvaria) emerging, especially in the afternoon after the sun has had a chance to warm up the water. It’s also a chance to take advantage of fish that haven’t necessarily been pressured for a while as they come out of hibernation and start feeding on the first significant mayfly to emerge in late April and into May. It might be safe to say that Hendrickson’s are the first sign of spring to an avid dry fly angler.
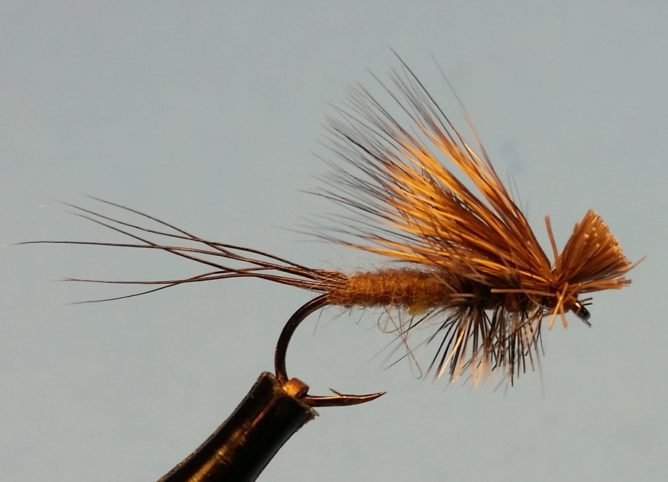
This version of Rene Harrops’s classic Hair Wing Dun floats well, sits in the film and represents the insect’s profile very nicely.
Since Henies can struggle to get off the water in the cooler temperatures common in the early season, they tend to be vulnerable to feeding fish. This pattern – with Its Elk Hair Caddis-like wing – allows you to skitter it on the surface just above a selectively feeding fish for added realism that can be just enough to convince a fish that has already refused your previous presentation.
By changing the tail materials to Gadwall Flank and some Z-lon, you can create an effective emerger. With the water often stained in the early season, I have a few of these ties with a piece of micro opal Flashabou as a rib to bring just a little attention to the pattern as it floats downstream.
Don’t limit this pattern just to just Hendricksons. With some minor adjustments to color and size, this pattern can be tied to represent most the mayflies found emerging in May and June.Tie some up and think Spring!
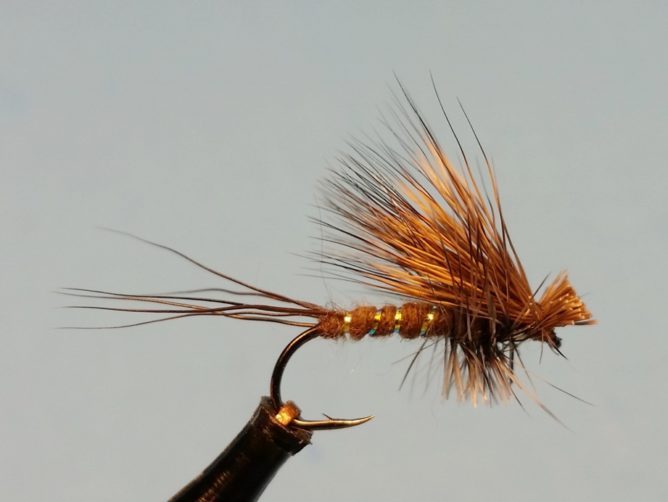
Hendrickson Hair Wing Dun with Rib
Recipe
Hook: Gamakatsu S10 #14
Thread: Uni 8/0 or equivalent – Tan or Camel
Tail: Moose Body or Coque De Leon
Dubbing: Custom blend of 1/3rd Olive &
: 1/3rd Cinnamon Fine ‘N Dry dubbing
: and 1/3rd Muskrat Fur – hand mixed.
Hackle: Grizzly Dyed Dun Dry Fly
Wing: Medium Coastal Deer Hair
Tying Instructions
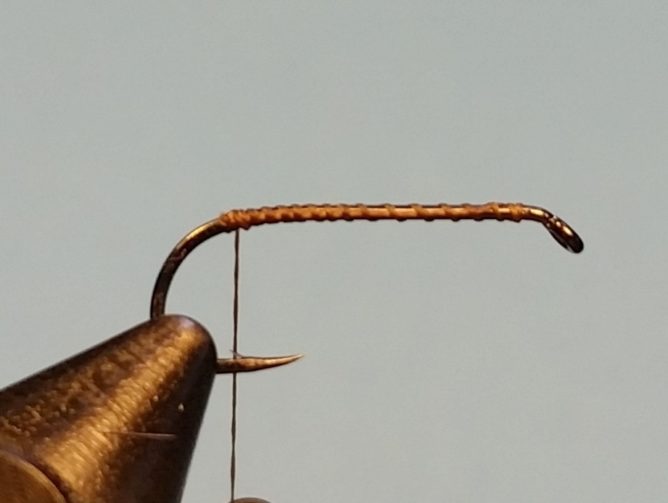 Step 1. Wrap a thread base from behind the hook eye to above the barb.
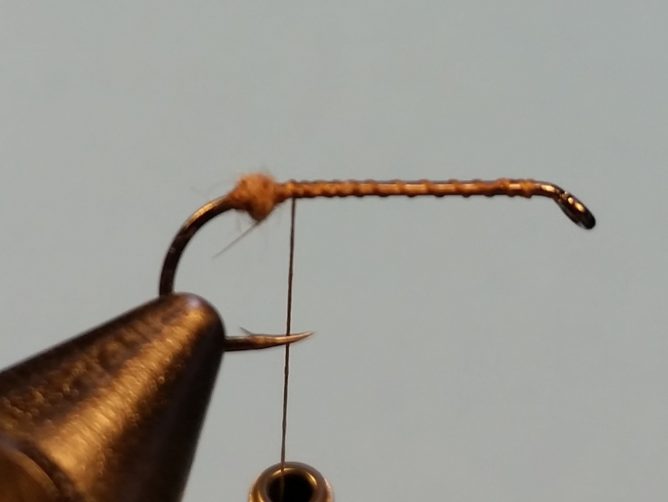 Step 2. Apply a very slight amount of dubbing to the thread
and create a very small and compact ball above the hook barb.
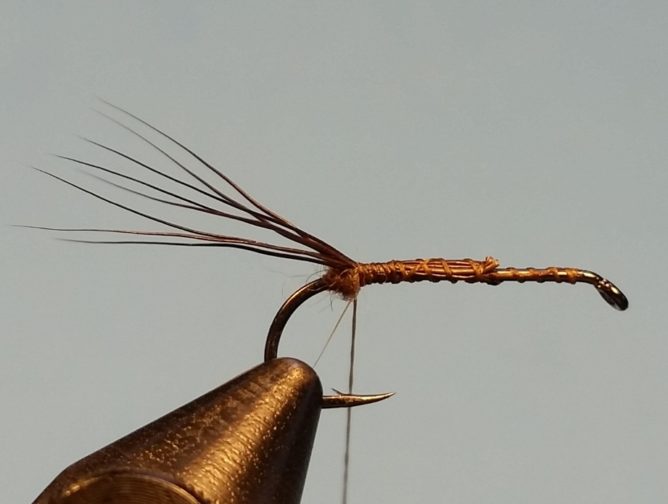 Step 3. Using a hair evener/stacker, prepare 4 to 6 moose body hairs and tie on top of the shank
– mid way- so the natural tips extend one hook shank’s length beyond the hook.
Divide the hairs on either side of the small dubbing ball to help split/spread the hairs.
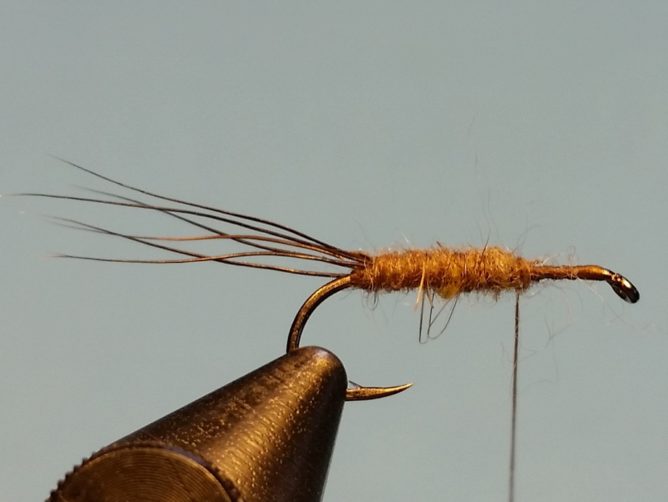 Step 4. Dub a slightly tapered body to the half-way point up the hook shank.
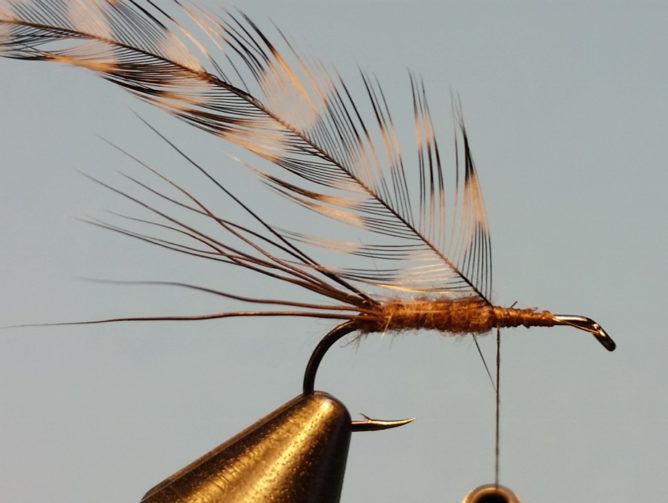 Step 5. Choose a hackle feather that is one size too large and
tie in the hackle by the stem up against the dubbing.
To help secure the feather, trim some of the barbules close to the stem.
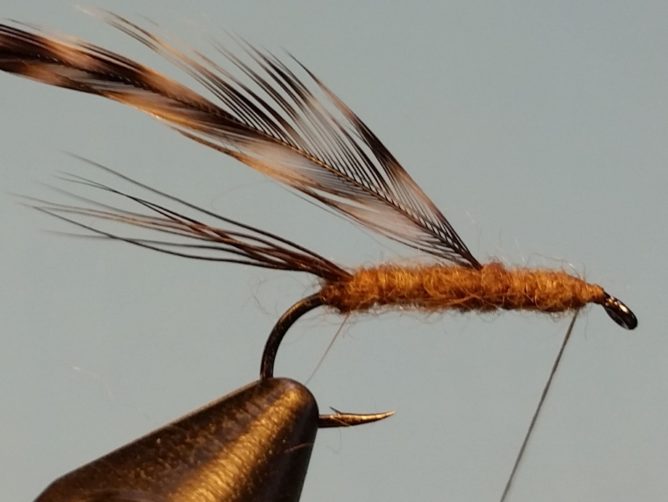 Step 6. Dub the thorax area stopping about one hook eye’s length shy of the hook eye itself.
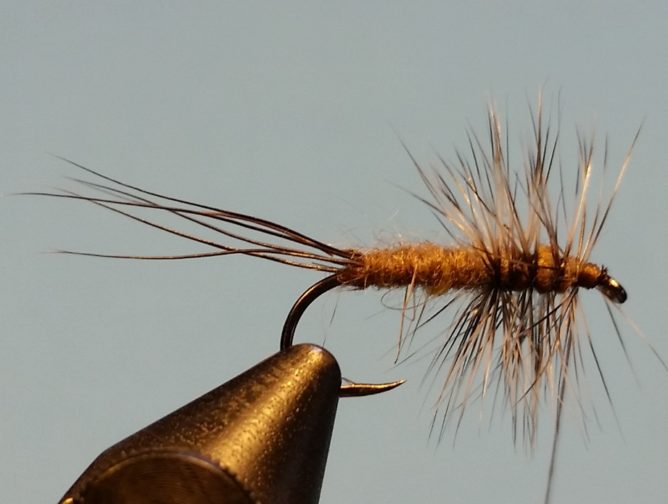 Step 7. Wind the hackle fully through the thorax area and tie off between dubbing and hook eye.
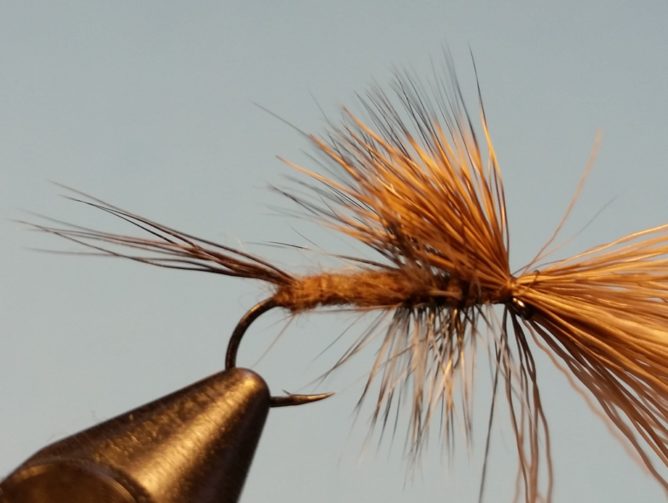 Step 8. Prepare, clean and stack a clump of deer hair that is a little thicker than a coffee stir stick/straw.
Tie in the deer hair so the tips – when laid down – extend the length of the dubbed body.
Use a couple of loose lasso-wraps of thread before securing and flaring the deer hair.
The tips of the hair should be pointed back and upwards.
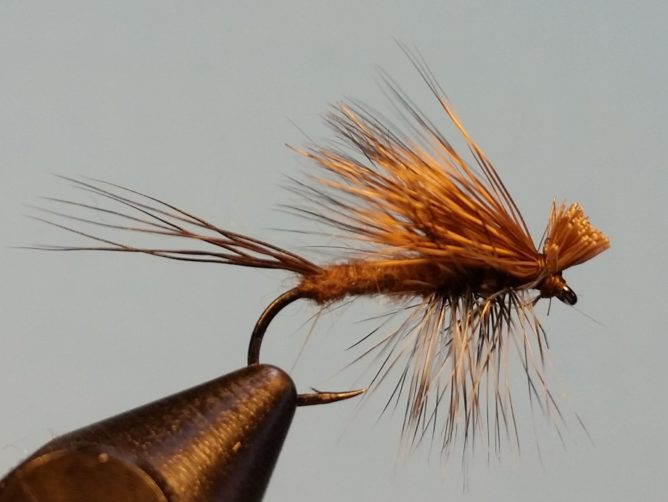 Step 9. Trim the deer hair off the front of the fly so that it sticks up a little.
Think of how an elk hair caddis is tied. Whip finish.|
 Step 10. Trim the hackle on the underside of the fly, flat, so that it is doesn’t extend beyond the hook point.

