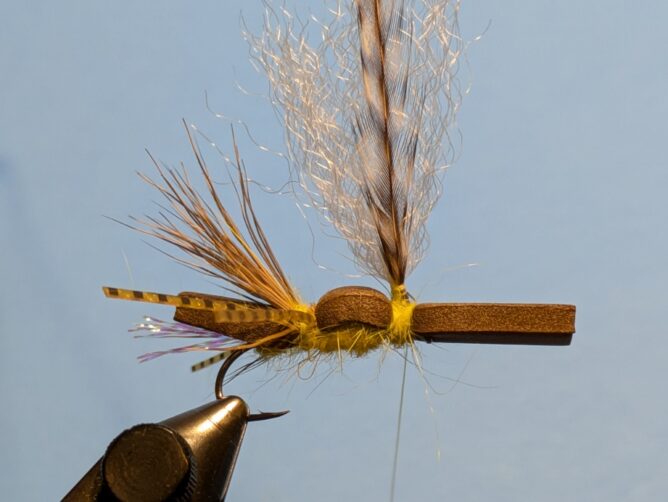
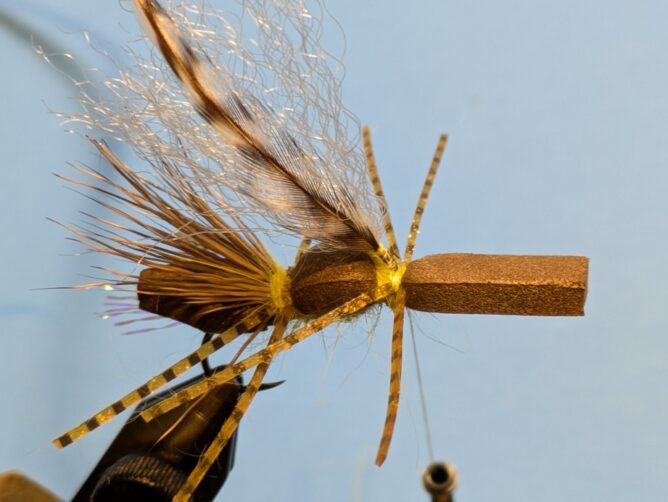
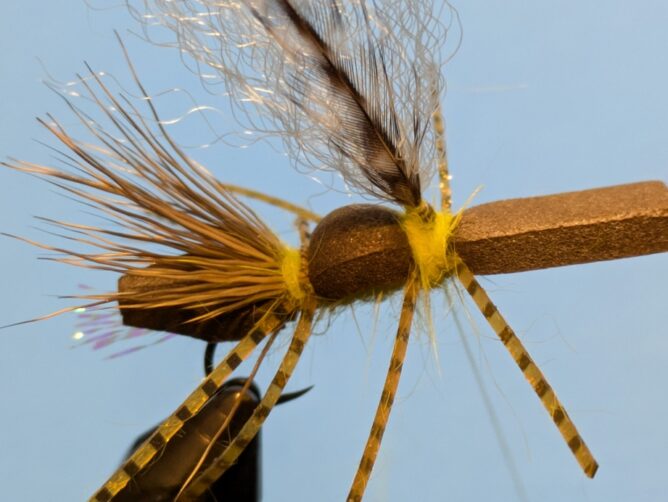
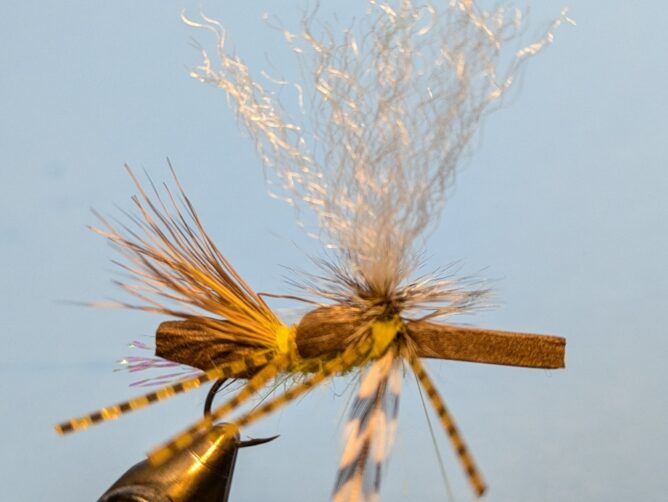
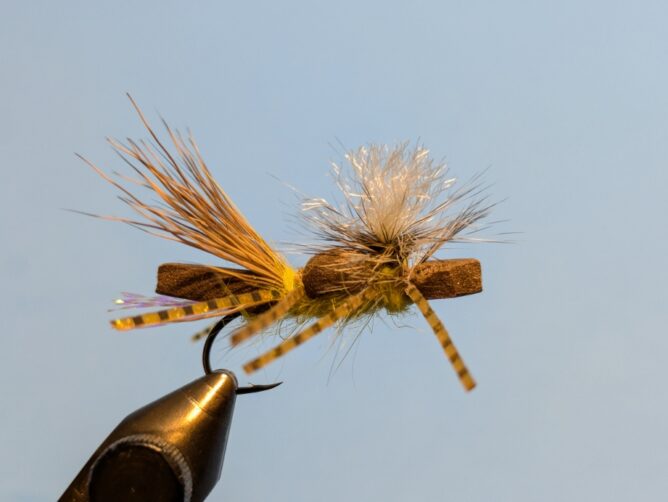
The Midwest isn’t known for stoneflies – especially in comparison to the western rivers, but don’t let the western anglers have all the fun, especially in late May and June.
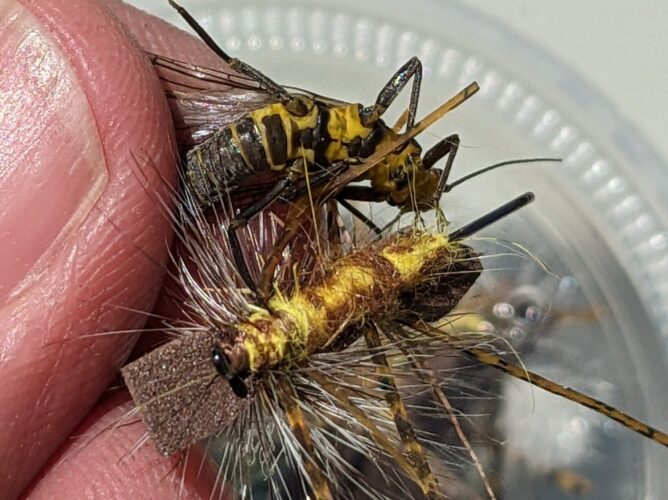
There are a few different stoneflies here in northern Michigan that conveniently get lumped into the name “Medium Brown Stonefly.” While not an impressive Latin name, it is refreshingly descriptive and easy to remember.
When flying, these big, clumsy bugs look like a Chinook helicopter that is having mechanical problems. And when the female stoneflies do crash to the water, they wiggle and shake their abdomen on the surface to release their eggs.
This disturbance is much different than that of a natural drag-free drifting mayfly and often gets the attention of fish when a hatch/emergence isn’t taking place. Because of their size, they are worth rising to, often aggressively, before the bug gets away.
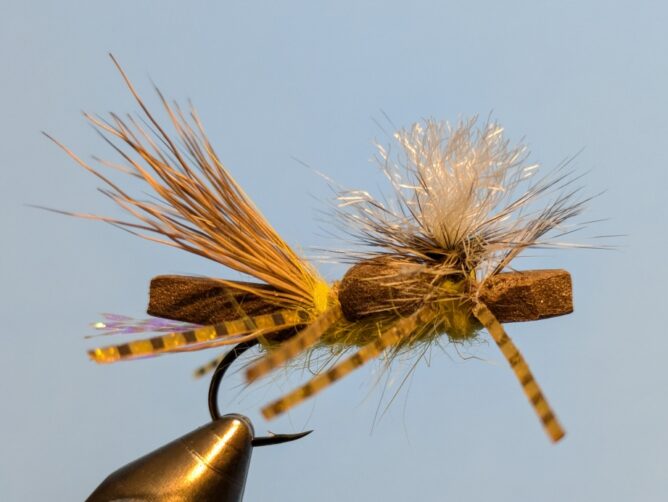
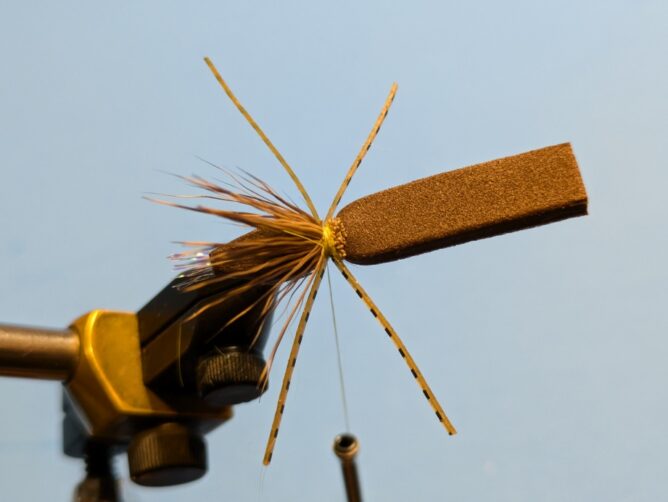
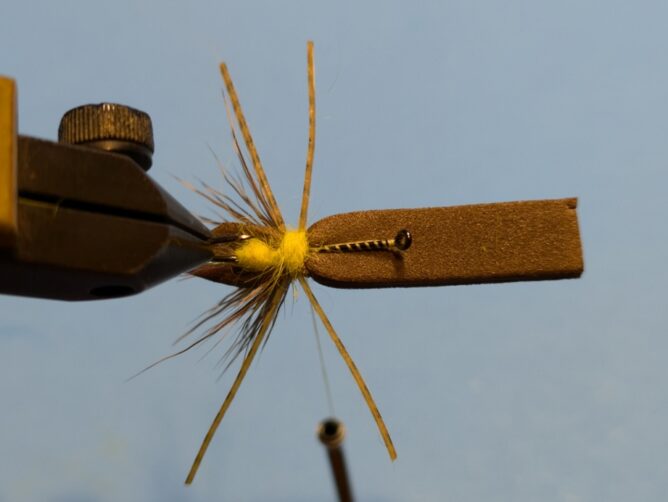
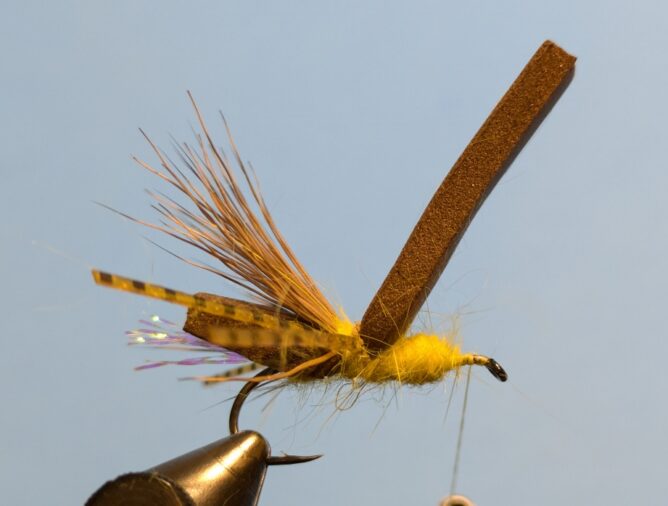
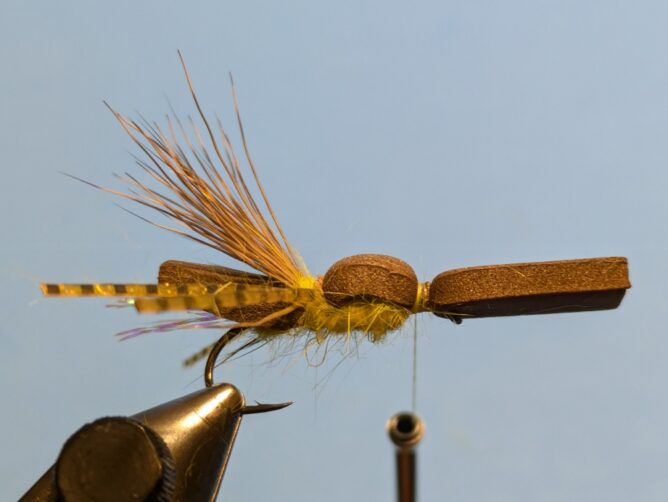
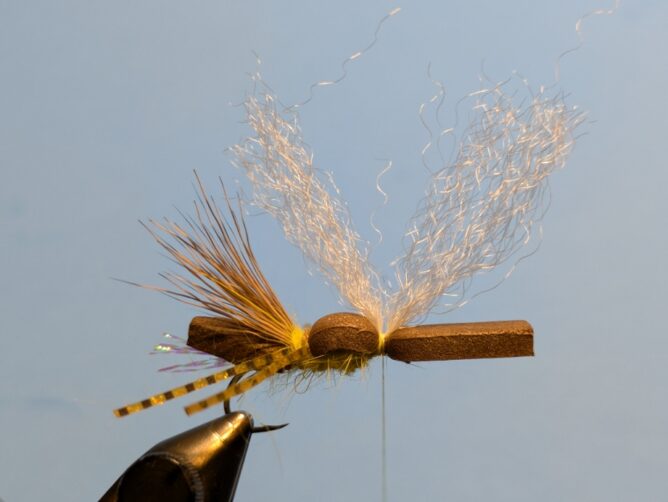
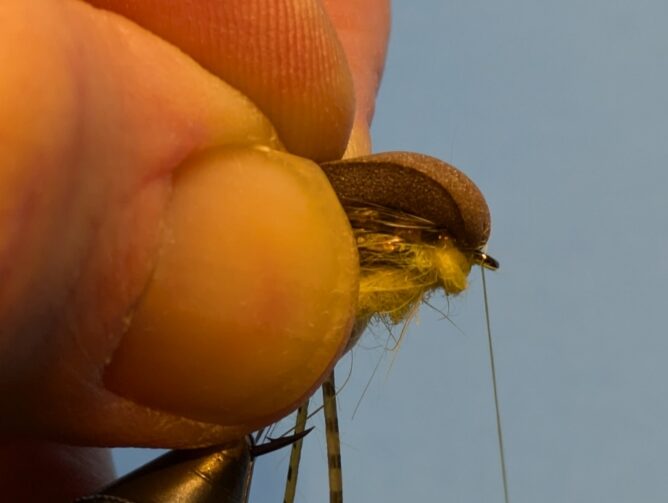
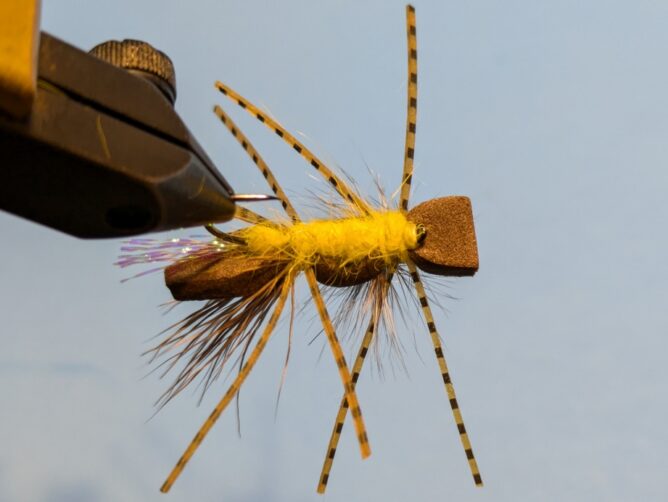
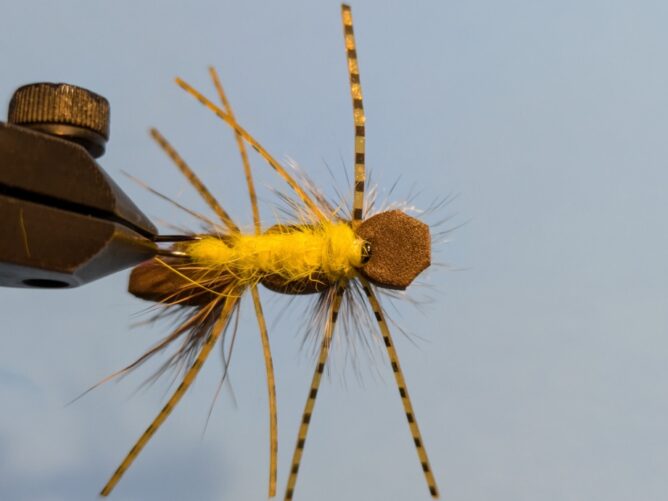
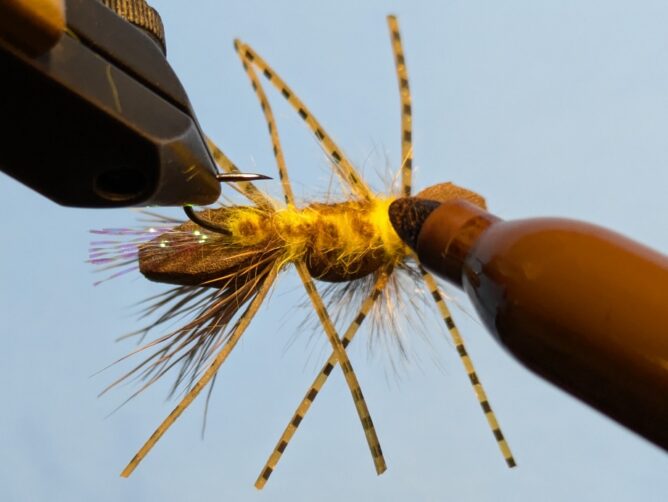
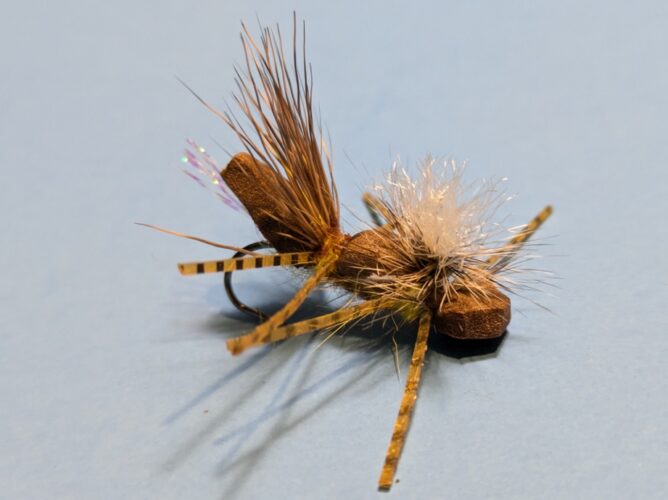
While there are plenty of stonefly patterns hailing from the west, I simply modified the Chubby Chernobyl and added some elements of the Fuzzy Wuzzy to come up with the Clumsy Brown Stone. The foam not only helps this fly float as you skitter and twitch it on the surface, but also provides a nice contrast to the yellow dubbed underside that is mottled by a marker.
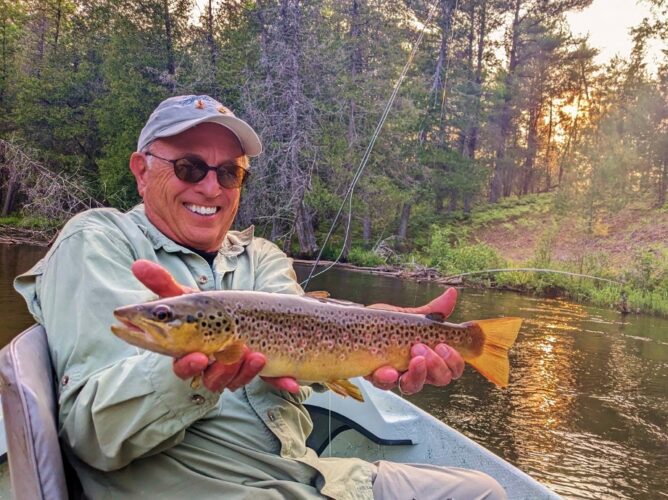
Stoneflies prefer rocks and gravel, but a lot of our rivers like the Manistee and Au Sable have a mix of gravel and sand. Like mayflies, a lot of the egg laying takes place in riffle sections, however I have caught plenty of fish in slow moving water without a stone or any gravel around. Tie and try the Clumsy Brown Stone the next time you are waiting for a mayfly hatch in those special six weeks of dry fly fishing we experience every late spring.
Recipe
Hook: Gamakatsu S10 – #10
Thread: Uni 6/0 – Lt. Cahil
Tail: Krystal Flash – Grey Ghost
Dubbing: Rabbit – Yellow
Foam back: Chocolate/Dark Brown 3 mm
Wing: Deer Body Hair – Tan
Legs: Sili Legs Perfectly Barred Brown
Post: Strung Fuzzy Fiber – White
Hackle: Grizzly Rooster
Tying Instructions
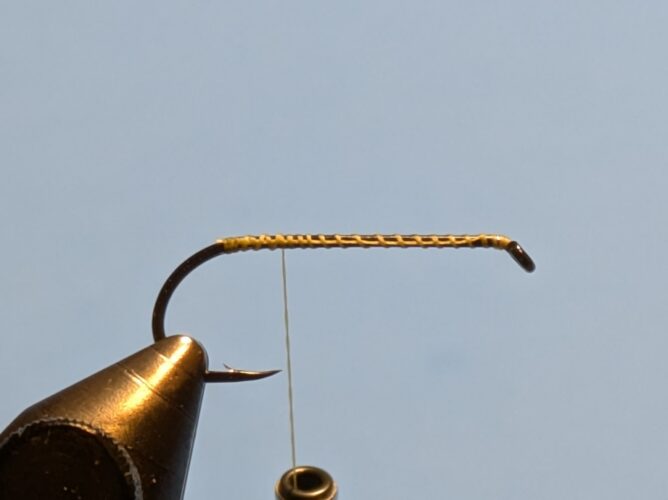 Step 1. Wrap a thread base from behind the eye to above the barb of the hook.
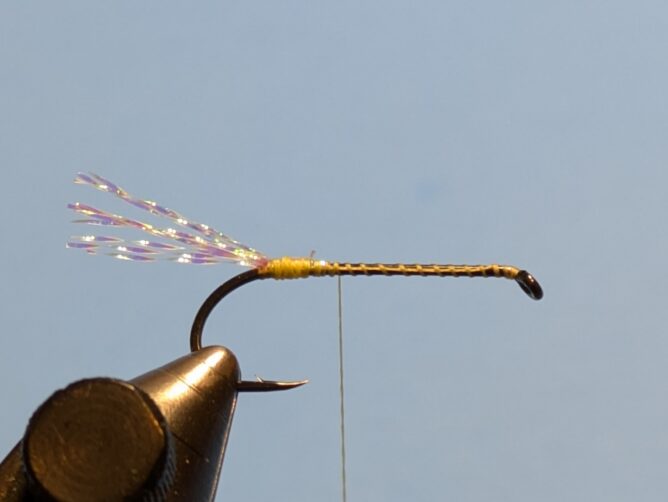
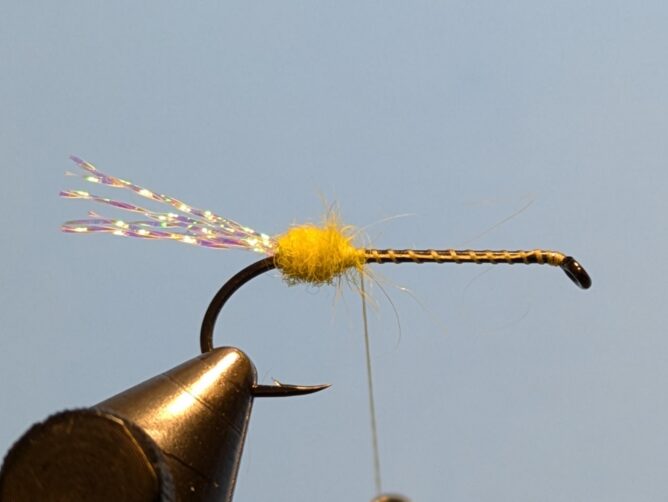
Step 2. Tie in about 10 strands of Krystal Flash above the barb, extending about one hook length backwards.
Step 3. Dub over the Krystal Flash to above the hook point.
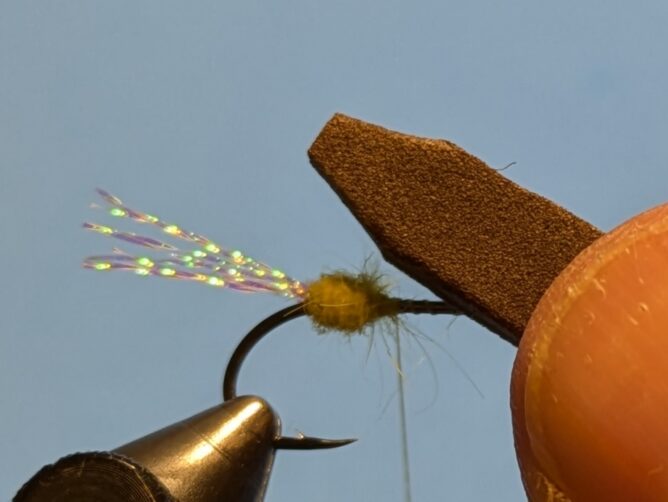
Step 4. Cut a piece of foam about 1/4” wide. Knock off the edges, making a somewhat tapered rear abdomen.
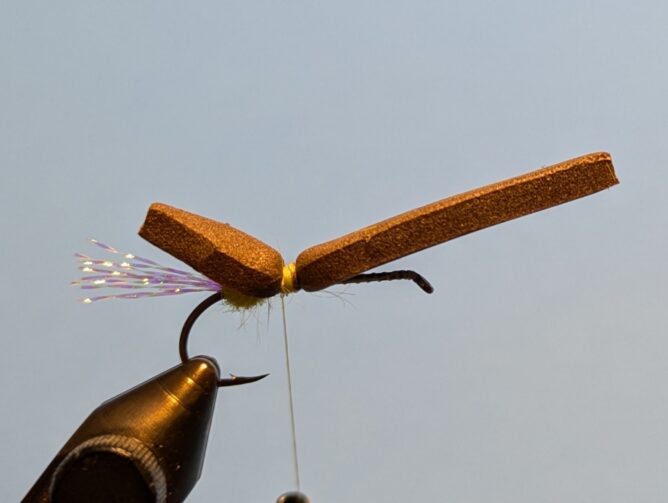
Step 5. Tie the foam – tapered part extending rearwards – where dubbing ends. To prevent cutting the foam with the thread, start with loose wraps and over a somewhat wide tie in area and increase pressure.
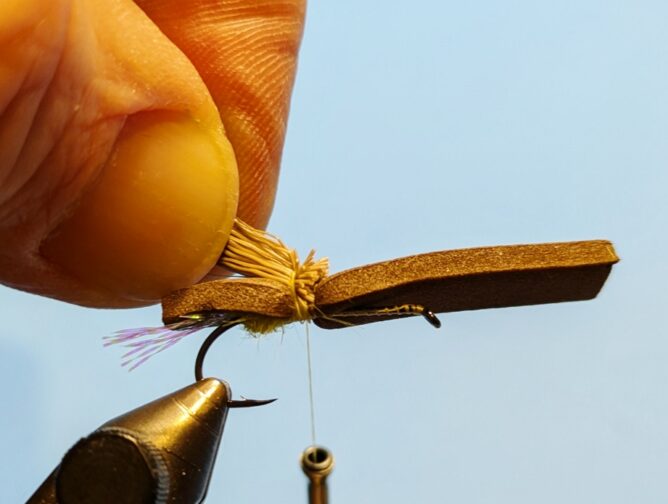
Step 6. Tie in about half of a pencil’s diameter of deer hair so the tips extend – when pressed flat along the foam – to the same length of the Krystal Flash. I like to measure the hair, then cut the butts off, then tie in.
Step 7. Cover the thread securing the deer hair with a little dubbing.
Step 8. Tie in rubber legs on each side of the body forming an “X”.
Step 9. Dub over the tie in area.
Step 10. Continue to dub a body under the foam, stopping two eye lengths back behind the hook eye.
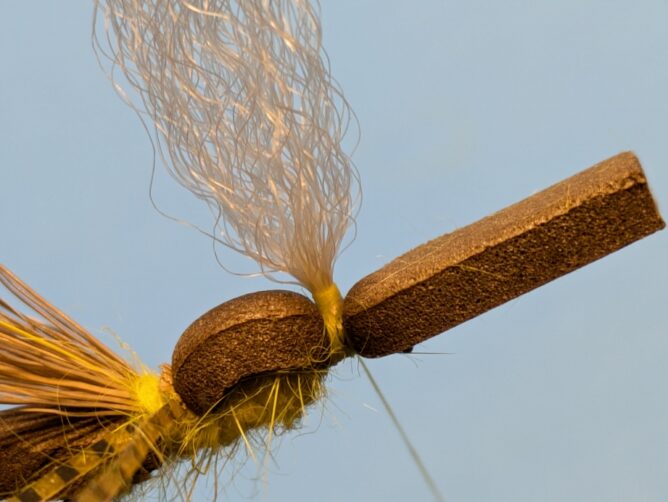
Step 11. Lay the foam over the dubbed abdomen/body and tie down, again using light wraps at first.
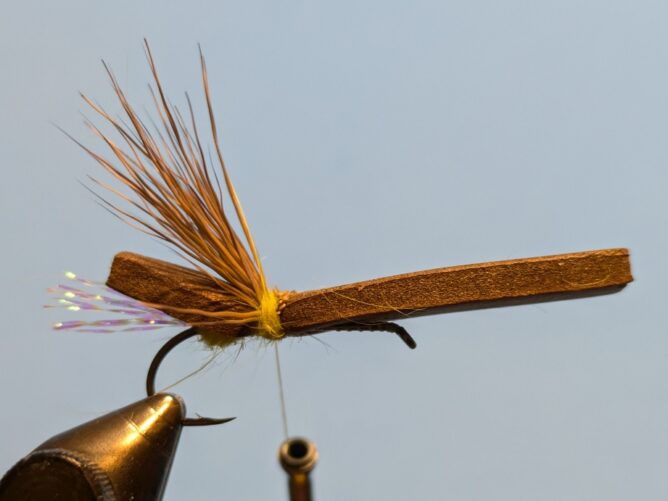
Step 12. Prepare a wing post and tie parallel to the hook shank, then bring both ends upward before
horizontally wrapping thread from the base upward then down to the hook.
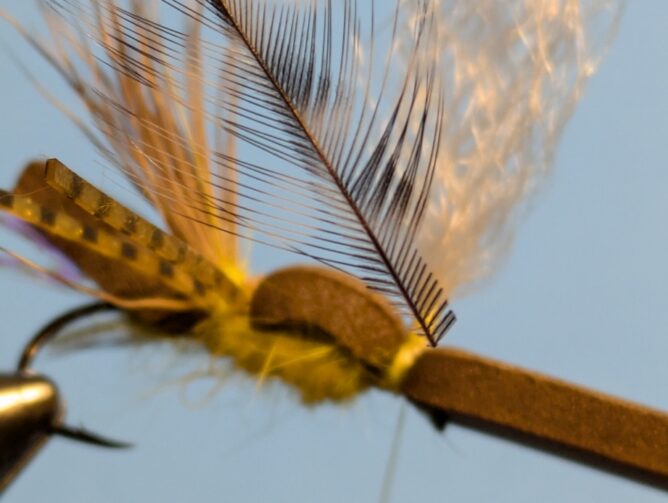
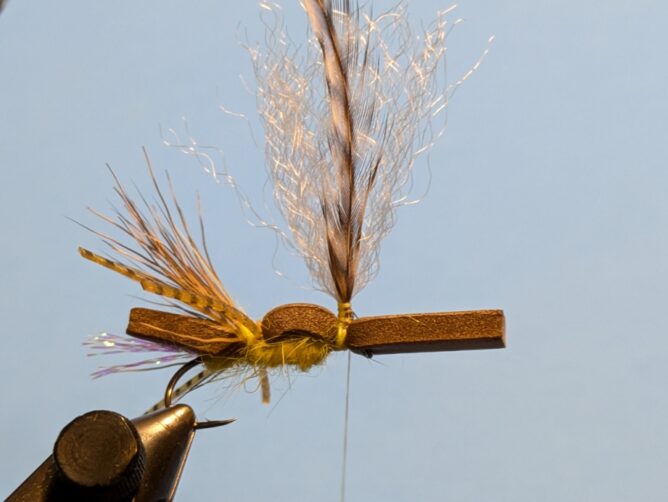
Step 13. Prepare a hackle feather by trimming some of the barbs off of the stem
and tie in feather, wrapping up the post, then down again.
Step 14. Lightly dub the region around the post.
Step 15. Tie in rubber legs on each side of the body forming the forward “X”.
Step 16. Add more dubbing around over the leg tie in region maintaining a nice, thick and uniform body profile.
Step 17. Wrap the hackle downward to the dubbing before tying off. A little super glue on the thread,
which is then wrapped into the dubbing, helps secure the hackle without having to whip finish.
Step 18. Advance your thread under the foam towards the eye of the hook and build a head, then whip finishing.
Step 19. Knock the corners of the foam off with your scissors.
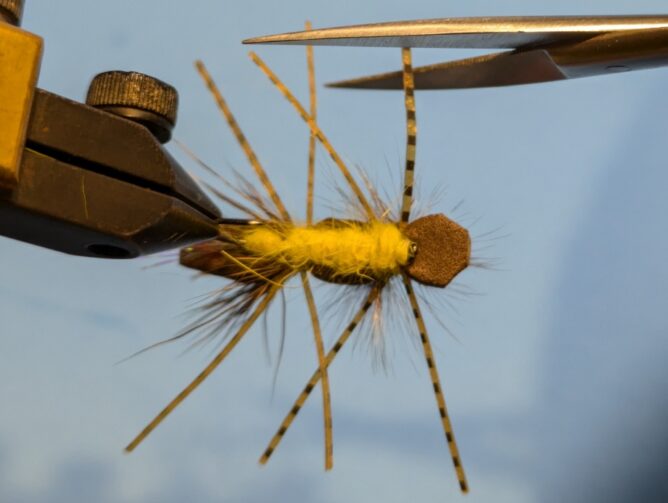
Step 20. Trim the legs so they are equal on each side where each leg is about half of the fly’s length.
If you find these are too long when fishing due to fouling in the hook bend or simply
appear too long, you can trim streamside with your line nippers.
Step 21. Trim the post so it is one hook gape in length.
Step 22. Using a brown Sharpie marker, apply a mottled look but be sure to
leave a solid yellow band at the location of the forward legs.
Step 23. Apply head cement to just behind the eye and at the base of the post.

