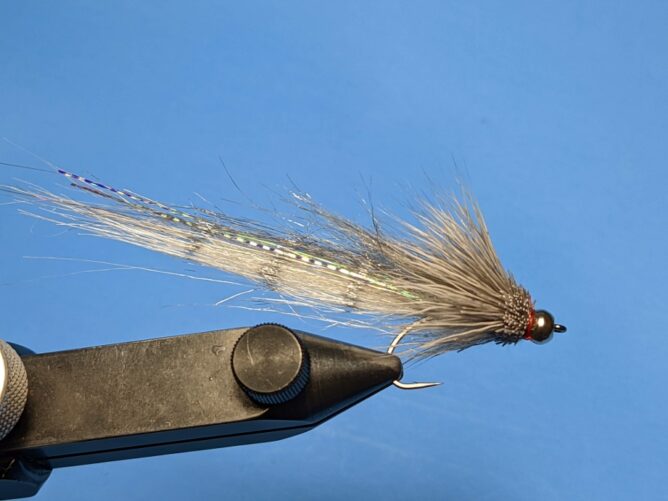
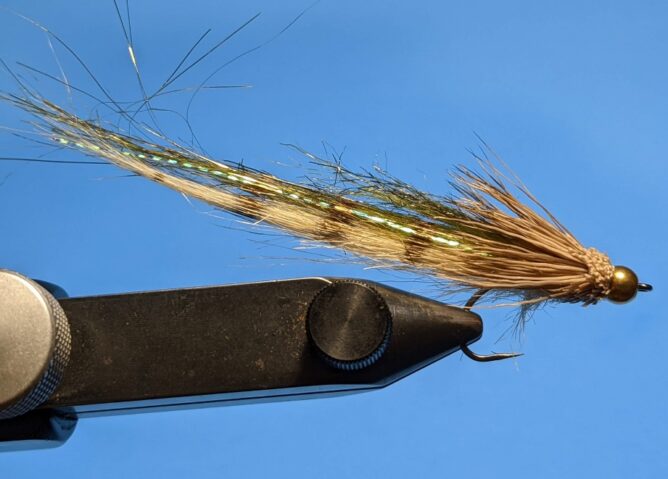
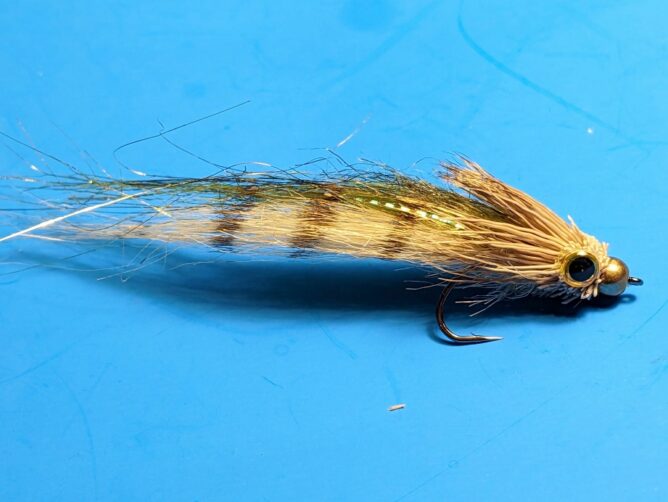
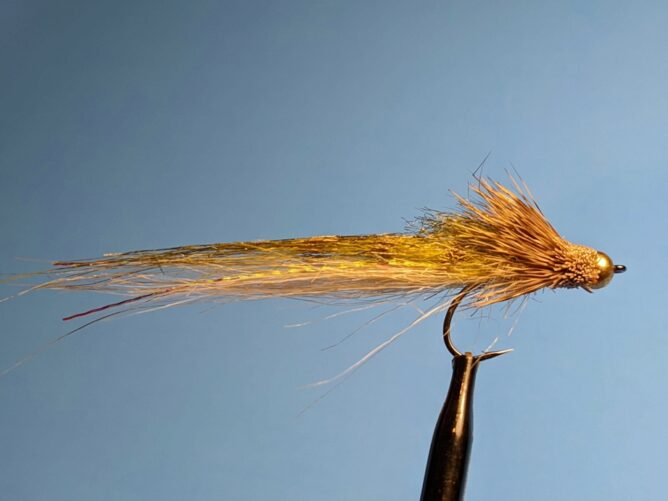
 The Back Half Baitfish is a relatively simple pattern to tie with a great profile that can be used to represent a number of different baitfish species in both rivers and lakes to target various fish, just by changing up colors.
After years of increasing the size of our streamer patterns and bombarding the fish, these larger patterns are becoming less effective as angling pressure has increased. While these large patterns still work on some days, more attention has been placed on smaller streamer patterns. If we have learned anything over the years, we need to adapt to fish wants, and sometimes that means downsizing the pattern and modifying our presentation.
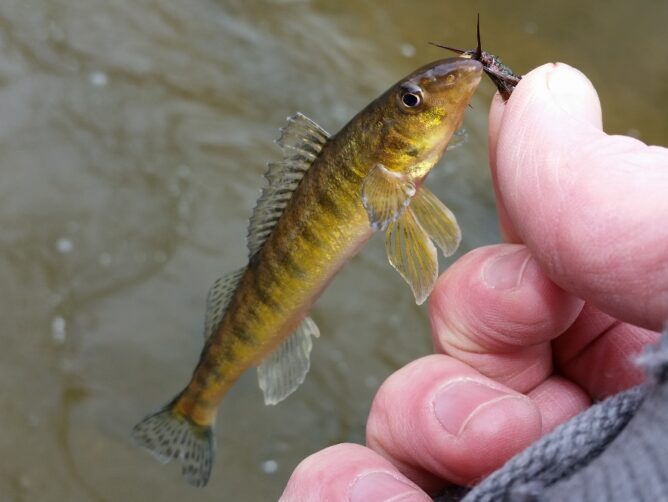 Also receiving additional attention is how prolific various baitfish species are in our waters thanks to Kevin Feenstra’s book, Matching Baitfish. This broad, in-depth and eye-opening project has highlighted the importance of the baitfish throughout our rivers and their nuances in behavior and color schemes.
As trout anglers, the concept of matching the hatch is a familiar one. Fishing baitfish is no different in concept – we are simply trying to imitate the natural species, which is the natural forage for predator species like trout and smallmouth bass.
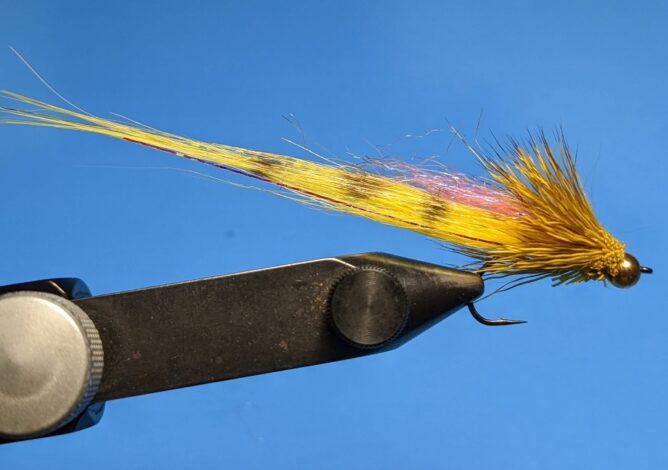 The design of this pattern came about serendipitously. I was developing a larger, articulated streamer pattern, and after some sketches I started tying. Once I completed tying the back half of the pattern, I set it aside and began the forward section/hook. As I glanced at the back half laying on my desk, the different profile intrigued me. With various adjustments to the design and development, and time on the water, I came up with the “Back Half Baitfish.” The name came about from a lack of creativity. And, no, I never did complete the front half of the original tandem pattern.
Fishing the Back Half Baitfish
I like to fish this pattern on a number of different fly lines depending on the targeted species, depth and flow of the water, water temps, and weather conditions. Some days it’s on a slow sink-tip line, floating line, intermediate sink tip or even tied as a dropper on a big, heavy sinking line as a secondary pattern.
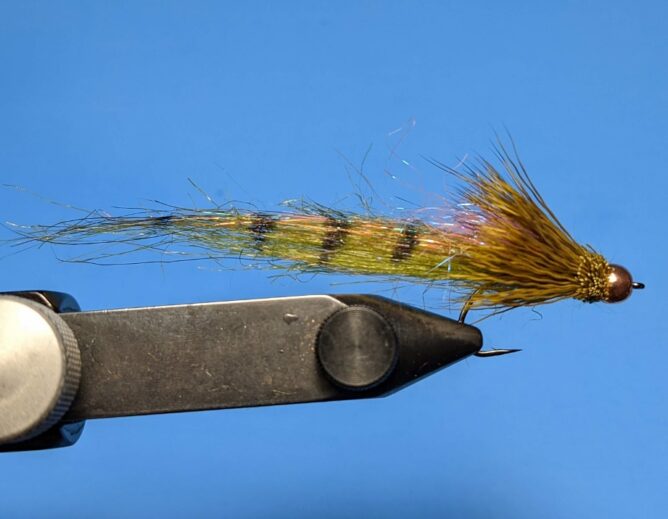 When retrieving, think of it being twitch-striped – a combination of the “twitch” retrieve and stripping a streamer. Cast down and across the current and add some short twitches, a pause, then a steady pull/strip. Because it doesn’t sink fast, we can slowly bring the fly back, making it not only behave more like the baitfish it’s imitating, but more attractive to fish that might not be aggressively interested in hammering a hard striped fly. Like always with streamer fishing, if the fish aren’t showing you the love, change up the retrieve a little to see if that makes a difference.
Tie these up in various colors and densities. Have some tied with a tungsten bead for additional weight and/or use lead wire under the body, add a trigger of UV material like Ice Dub. And for sure, tie in a variety of colors to match different baitfish and conditions.
Recipe:
Hook: Gamakatsu B10s #6
Thread: Flymaster Plus – Tan
Bead: 3/16” – Brass
Tail: Extra Select Craft Fur – Tan and Golden Olive
Flash: Lateral Scale – 1/69″ Opal Mirage
Wing ‘N Flash or Angel Hair – Gold
Body: Dubbing made from Craft Fur
Head: Deer Body Hair – Tan
This pattern was developed for trout and bass, but should you be interested in using it for larger fish, consider a using a heavier hook like the Daiichi 2451 #6 or heavier Gamakatsu L11S-3H #6
Tying Instructions
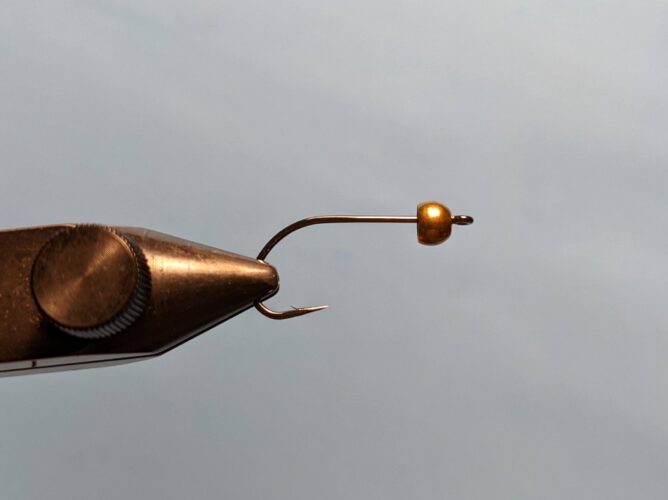 Step 1. Slide bead onto the hook and place in vise.
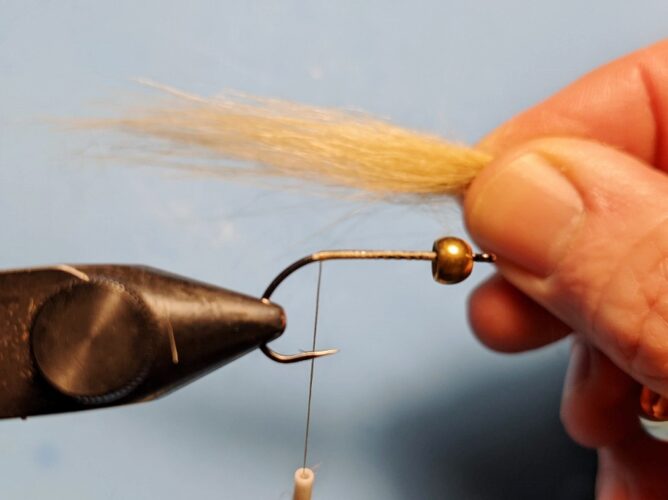 Step 2. After wrapping a layer of thread from behind the bead to above
the barb, select a clump of craft fur, a little less than the diameter of a pencil.
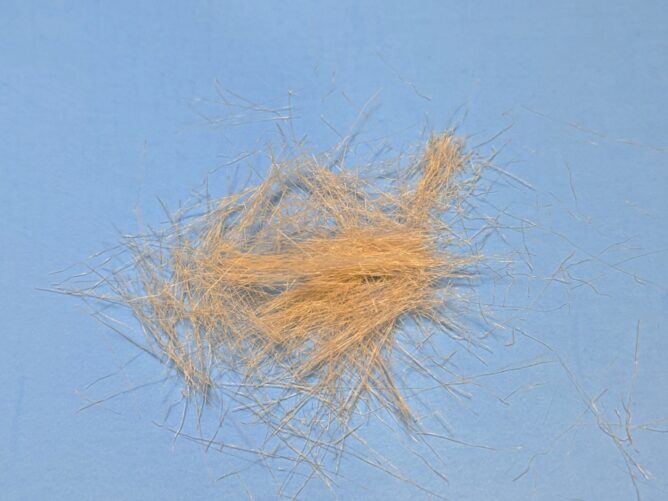
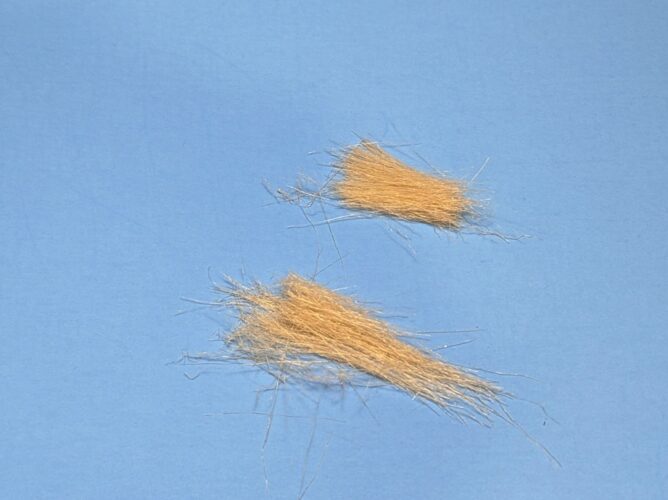
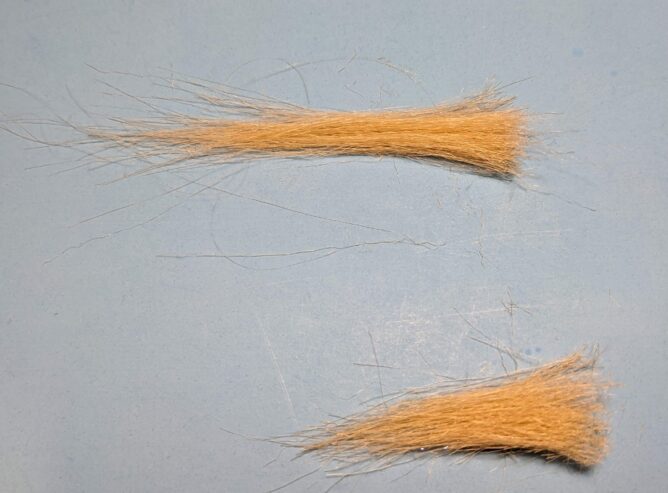 Step 3. Pinch the longer fibers of the craft fur and separate the shorter fibers
that add to the bulk of the fur. Do not discard the shorter fibers, save them for step 7.
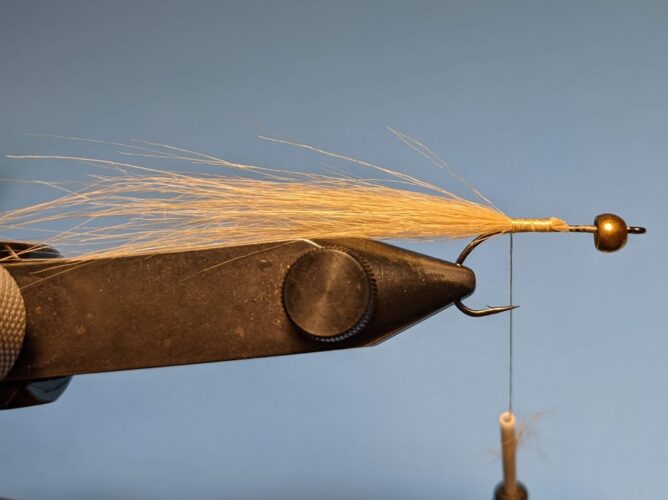 Step 4. Tie in the craft fur with the tips extending back
approximately 2 ½ times the length of the hook.
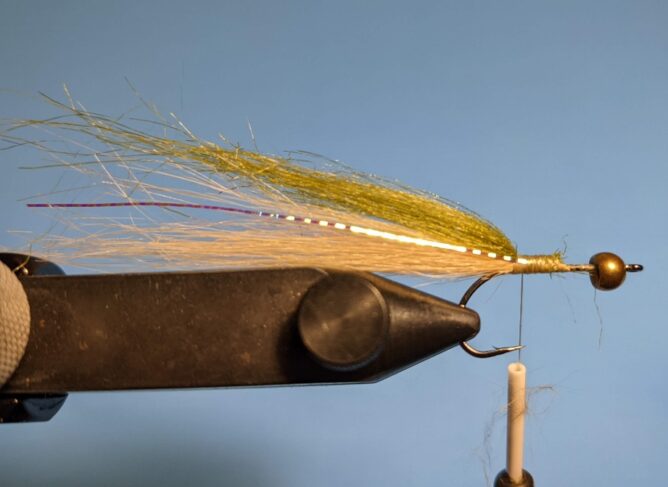 Step 5. Tie in the second color of craft fur on top of the lighter, matching the length, then tie
in one strand of lateral scale on each side the craft fur, and trim so it’s the same length as the craft fur.
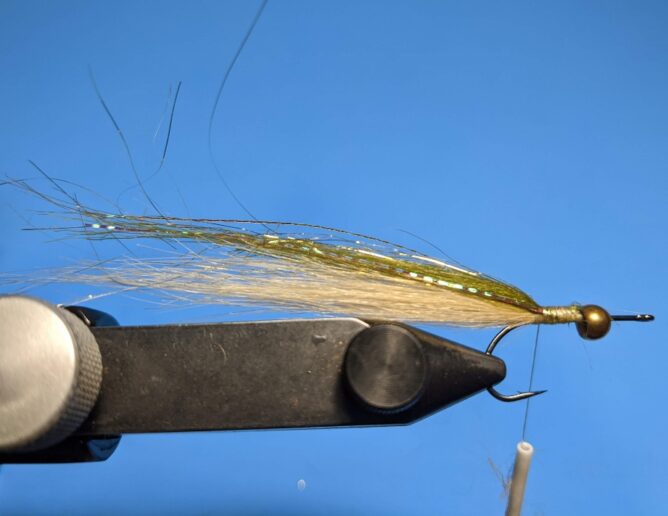 Step 6. Tie in a sparse amount of Wing ‘N Flash or Angel Hair on each side
of the darker craft fur and trim so it doesn’t extend beyond the length of the craft fur.
Step 7. Using the shorter craft fur saved from step 3, make dubbing by mixing the orientation of the fibers.
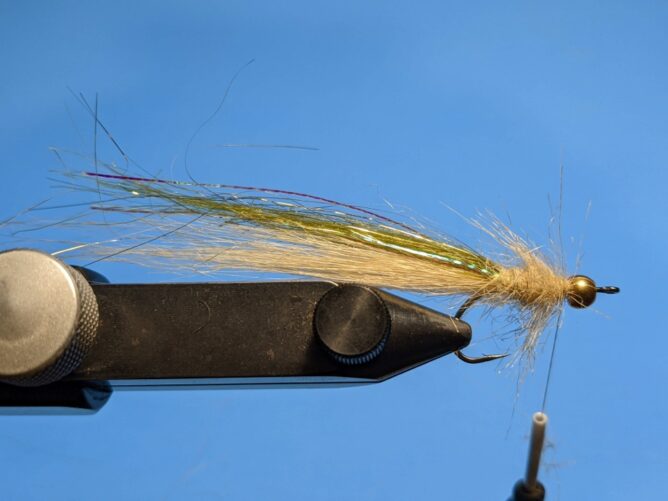 Step 8. Dub a body forward stopping about a bead’s distance behind the bead.
Pick out the dubbing with a bodkin, brush, or tip of scissors to get a nice, buggy appearance.
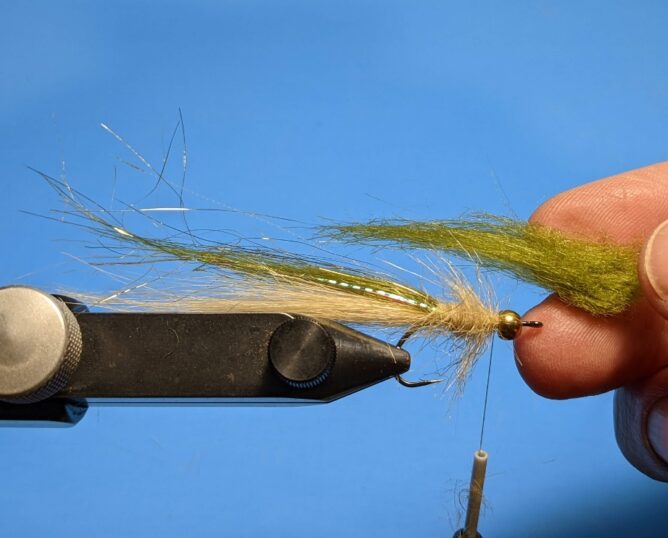 Step 9. Select a thinner chunk of the darker craft fur, separate the shorter fibers and tie these in to
help taper the profile of the fly. If tying with a “Trigger” or “Hot Spot”, replace this portion of craft fur with Ice Dub.
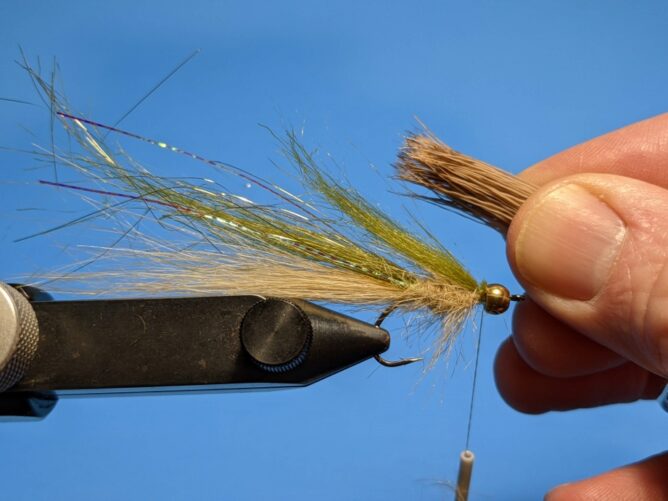 Step 10. Comb out and stack about a pencil’s diameter of deer hair.
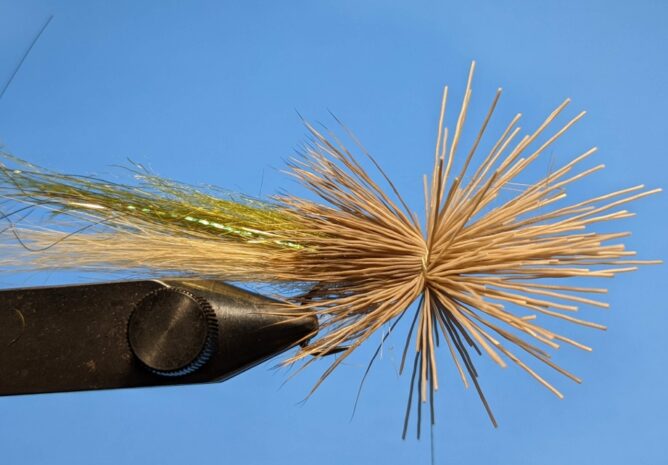 Step 11. Between the bead and craft fur, tie the deer hair in around the hook
so the tips extend just beyond the hook bend. Any shorter than this
and the craft fur is likely to get fouled around the hook bend.
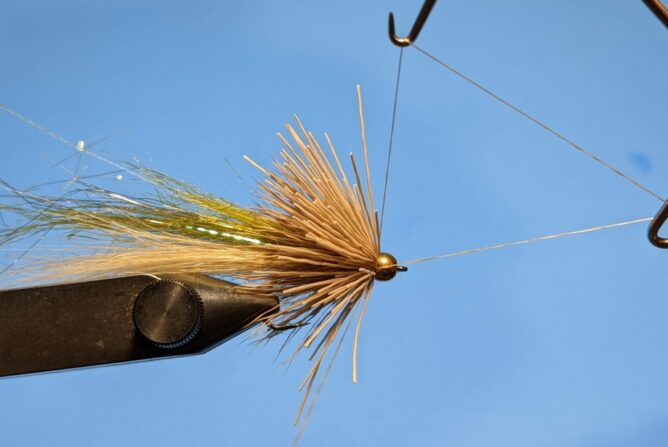 Step 12. After winding the thread carefully through the butt
ends of the deer hair, whip finish behind the bead.
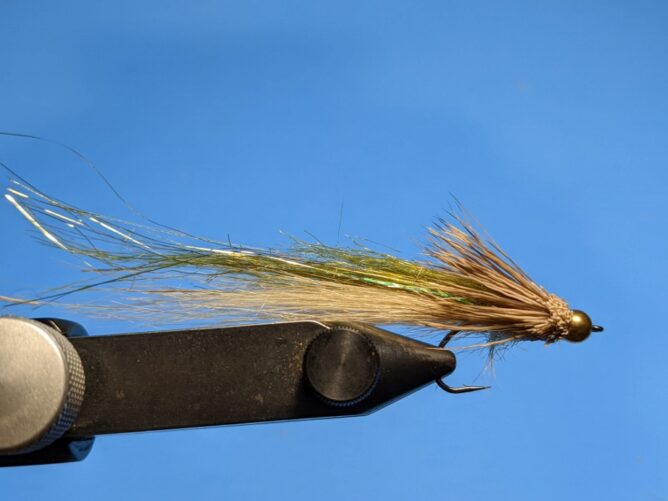 Step 13. Trim the butt ends of the deer hair around the hook slightly tapering
from the diameter of the bead to transition the profile to the deer hair tips.
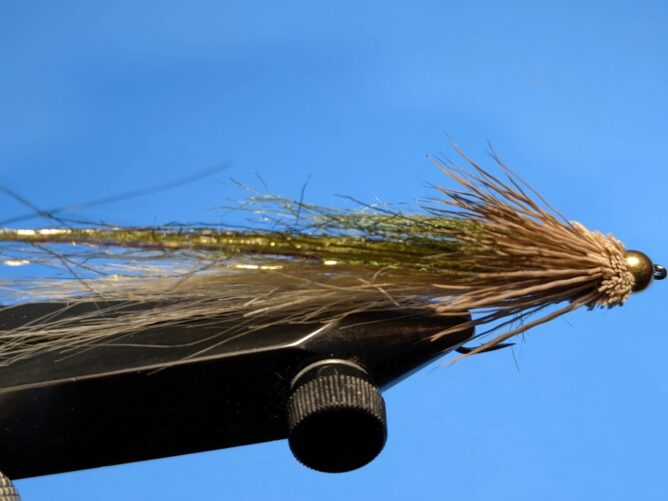 Step 14. Using a black Sharpie marker, color the top of the craft but by pulling the craft fur with one hand
and lightly running the marker along it. You just want to add a little dimension, not completely blacken it.
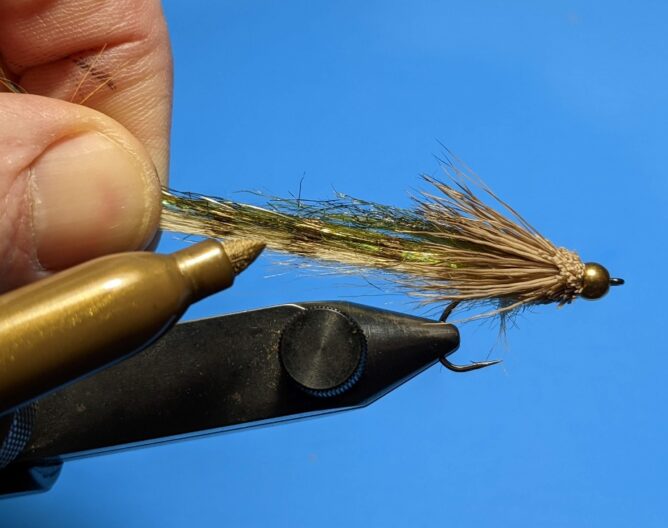 Step 15. By pulling the craft fur with one hand, apply some vertical stripes on each side with a marker.
Here, a metallic gold Sharpie is used. I also mark some with black or brown when I want a pattern with less flash.
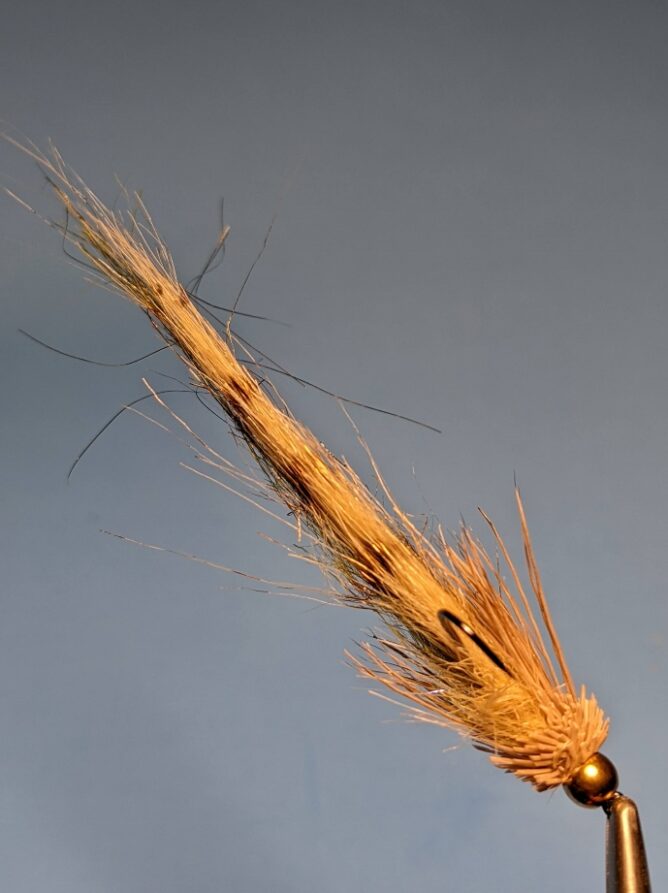 Underside profile of the Back Half Baitfish
Tied with optional 3-D Eyes

