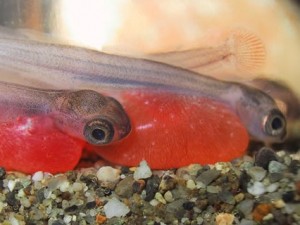
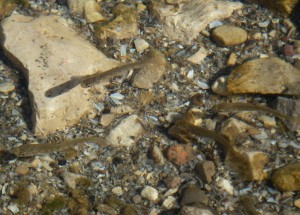
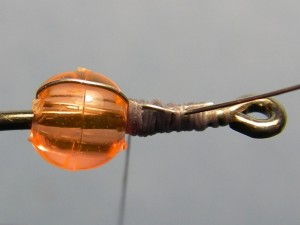
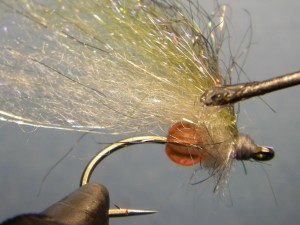
Wherever natural reproduction takes place, juvenile fish call home. After months lying in oxygenated gravel, the fertilized eggs start to evolve into a fish which become a food source to larger fish. This stage, referred to as an “Alevin,” retains its egg as the length and shape of the fish develops.
With its big eyes and bright egg sack, larger fish take advantage of the alevin’s unwary disposition and protein value – we as anglers take note and also take advantage.
Anglers fishing waters that host spawning salmon in the fall and steelhead in the spring should consider this fly a staple from mid-February and into April. Not only does the alevin work well for steelhead, but trout too find them easy prey.
Other species naturally reproducing go through a similar process, and by tweaking coloration you should find this pattern is effective long after the steelhead, walleye and suckers are done spawning. Some fish eat their own, and mixed species don’t pass up a chance to eat others making this an effective pattern that goes beyond just the early months of the year.
Presentation can vary with the alevin pattern.I often fish as a dropper on a nymphing rig for steelhead. As the pattern comes off the bottom and sweeps up and downstream, I strip some line in before recasting. By doing so, the pattern looks like a natural alevin darting along and the takes –with no slack in the line- can’t be mistaken.
When targeting trout, I like to fish these slightly down and across with twitches created by popping my rod tip on either a slow sink-tip line, sinking leader or floating line if the water is shallow enough. At the end of the drift, let the fly hang down like you would a wet-fly before stripping it back and recasting. Smallmouth bass also like this pattern so be sure to tie one below a larger streamer or even a popper for a top and bottom presentation.
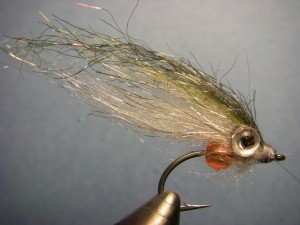
The alevin pattern itself is easy to tie and doesn’t require exotic or expensive materials. The translucent nature of the bead not only adds realism, but also weight and a little wobble when facing directly against the current. Put a bunch of these in your fly box and match a different kind of hatch for a number of species.
Beaded Alevin Recipe
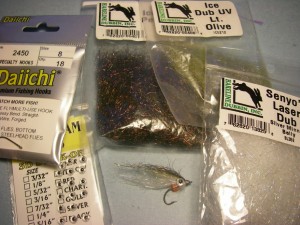 Hook: Daiichi 2450 #8
Thread: Uni 6/0 – Gray
Bead: Plastic 4mm – orange/pink
Wire: Silver Ultrawire – SM or BR
Body: Senyo’s Laser Yarn Silver Minnow Belly
Wing: Light Olive Ice Dub
Topping: Peacock Ice Dub
Eyes: 3-D Molded – Silver 5/32
Tying Instructions:
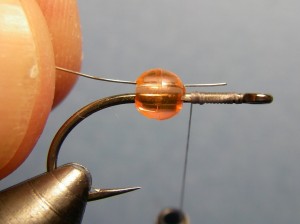
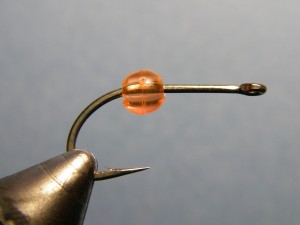 Step 1. Slide plastic bead over hook and then place in vise
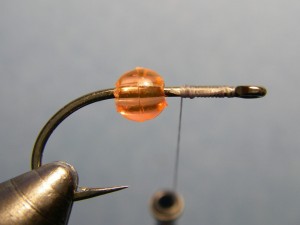 Step 2. Wrap thread from behind eye to form a base layer.
Step 3. Slide a piece of wire through bead and tie down between the hook eye and bead.
Bring the wire over-top of the bead and tie down – this holds it in place.
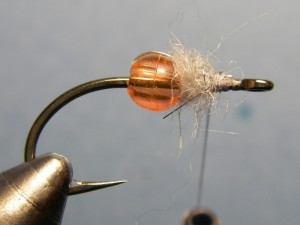 Step 4. Dub some of the body just in front of the bead.
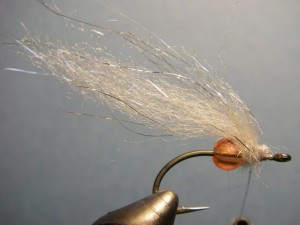 Step 5. Take the same dubbing and align the fibers by hand so that you have
a long dubbing/body material. Tie in ahead of the dubbed body.
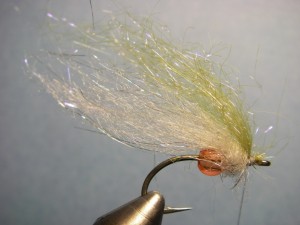 Step 6. Align some wing material similar to step 5. Tie in on
top so that it is about the same length as the body material.
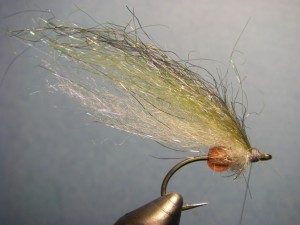 Step 7. Repeat a third time with the Peacock Ice Dub and tie off. Apply water-based
head cement (regular head cement typically melts the Ice Dub).
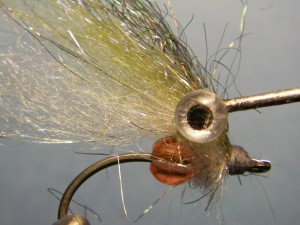
Step 8. Install the eyes by placing a drop of Platinum Bond Super Fabric Textile adhesive using
your bodkin. Once applied,use a cleaned off bodkin to pick an eye off its backing sheet and set.
The placement of this eye as demonstrated in the photo is between the bead and hook eye and
slightly elevated and helps sandwich the body/wing material and create the desired profile.

