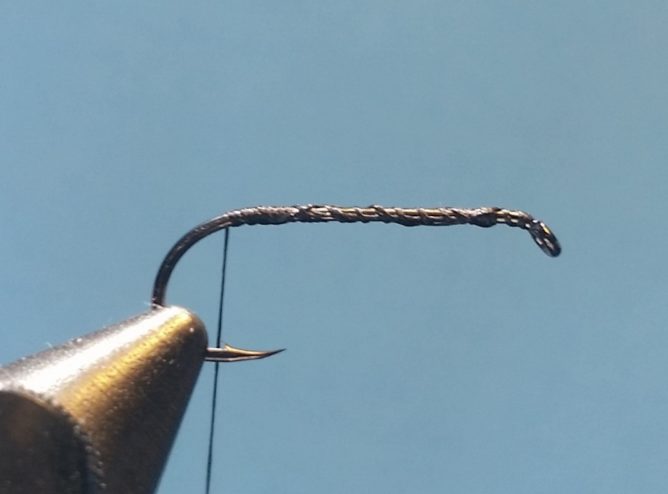
 There are times while fishing that our favorite patterns – dries, wets, nymphs and streamers – simply aren’t working despite changing patterns, technique and approach. These are ideal times to use a “Skunk” to save the day on the water.
Named for its color scheme, the skunk is a pretty simple pattern, but I’m sure at the time it seemed wild and crazy. It was such a departure from what was considered a “standard” pattern in the 1940s when it was developed. I often get questionable looks – today – when I tie one of these on, but I like the follow-up look from anglers when it proves its effectiveness.
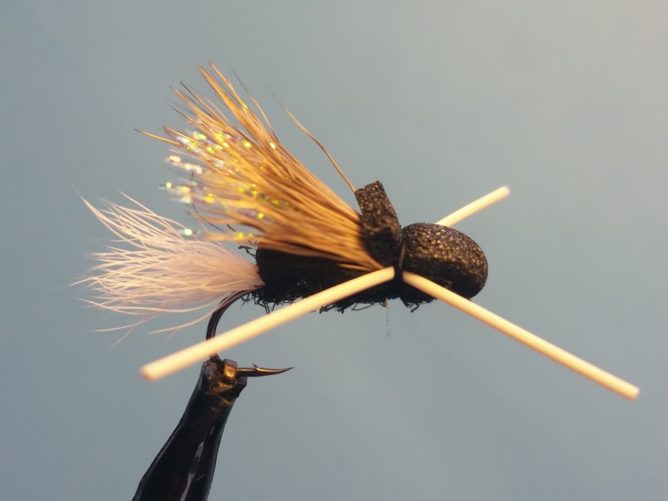
 While the original Michigan Skunk fly pattern has caught lots of fish over the years, its durability was vulnerable, as the exposed thread wraps easily became unwound after teeth and/or hemostats had their way. That, and well, if not tied right, the pattern could look pretty sloppy. With this in mind, I added some foam to the pattern which not only helps it float, but protects much of the deer hair and thread wraps. If stripped abruptly while pointing the rod at it, the fly dives and floats back up which offers yet another presentation variation to the pattern.
As with a lot of patterns, the Skunk or Improved Skunk doesn’t necessarily imitate anything specific so feel free to experiment and tie them up in different colors including olive, gold and more. Maybe it’s the color, maybe it’s because it is fished as a “Twitch Fly,” but whatever it owes its effectiveness to, the Improved Skunk deserves a place in your fly box.
Recipe
Hook: Gamakatsu S10 #10
Thread: Uni 6/0 – Black
Tail: Kip/Calf Tail
Body: Ice Dub – UV Black
Foam: 2 MM Black
Under wing: Krystal Flash – Pearl
Wing: Deer Body Hair – natural
Legs: Round Rubber Legs – Medium – White
Tying Instructions
Step 1. Wrap a thread base from behind the eye of the hook to above the barb.
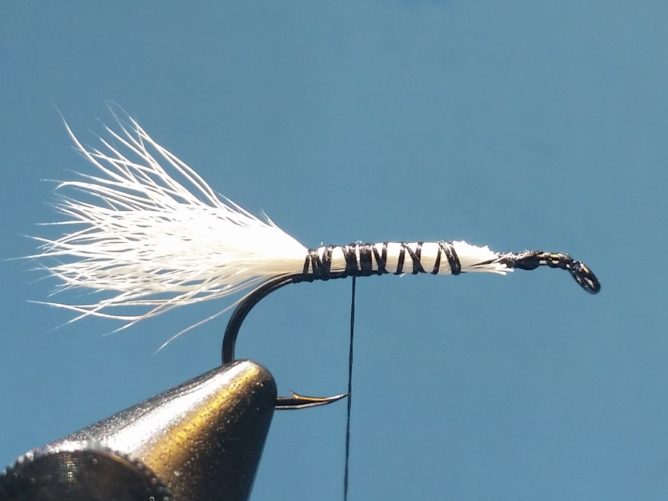 Step 2. Prepare a clump of calf/kip tail by holding the tips and removing the short hairs
and “fuzz”. Then use a stacker/hair evener to stack the tips. Tie the tail on top of the hook
so the natural tips extend backwards about one hook gape’s distance. This material is slippery
so be sure to use plenty of wraps to ensure it will stay where you want it. Trim butts.
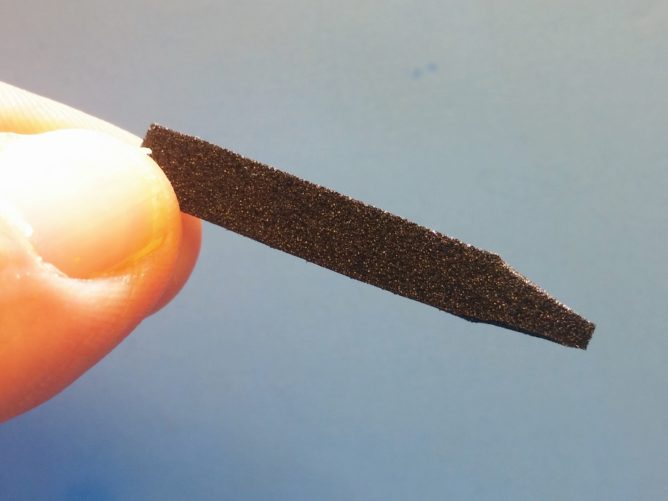 Step 3. Cut a piece of foam about 3/16″ wide and taper the lower 1/2 inch as shown.
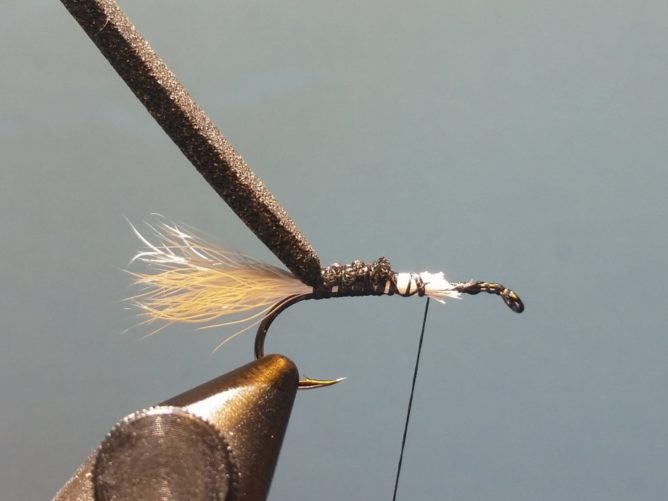 Step 4. Tie in the tapered end of the foam on top of the hook and wrap back to the tail tie in area.
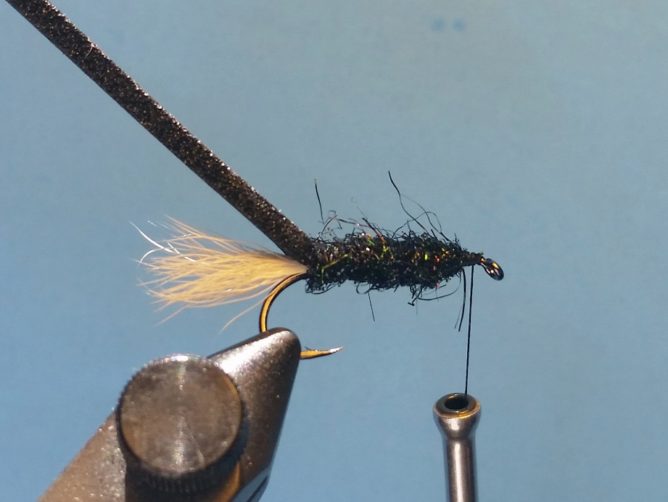 Step 5. Dub a body to just behind the hook eye.
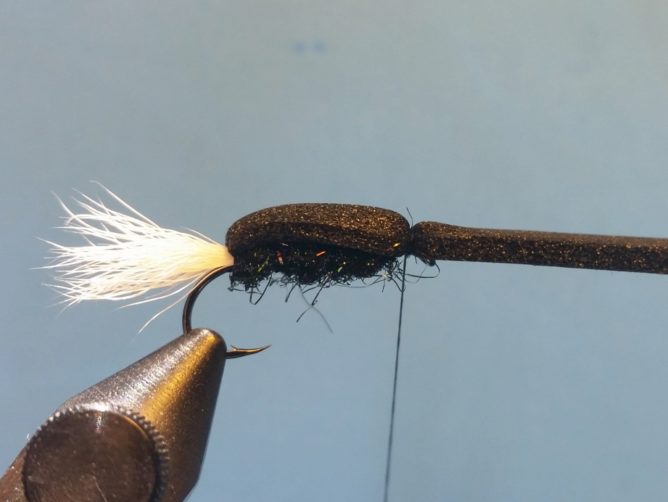 Step 6. Pull the foam over the top of the fly and tie down just behind the eye. Do not trim foam.
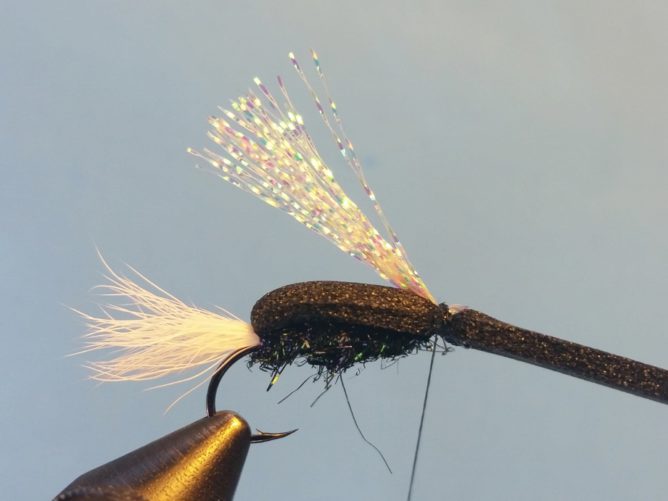 Step 7. Tie in about 12 strands of Krystal Flash as an under-wing extending just short of the tail’s length.
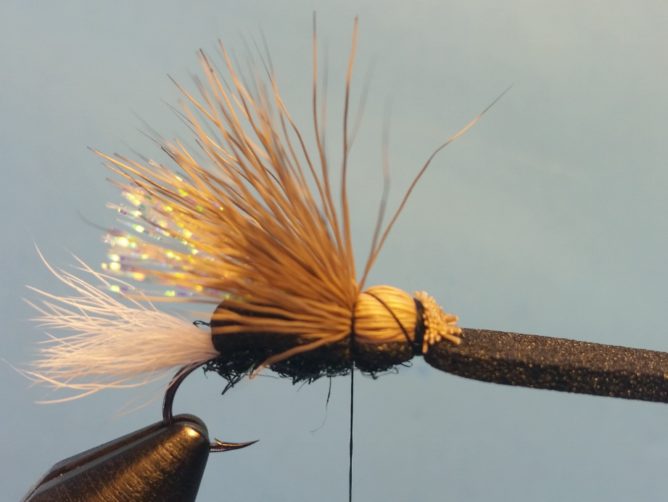 Step 8. Prepare and stack/even a clump of deer hair. Tie in over the under-wing. Once secure, wrap thread
over the deer hair on a 45-degree angle, then secure with a few wraps making sure the deer hair doesn’t spin to
the opposite side of the fly’s body. This tie down should be a hook gape’s distance behind the hook’s eye.
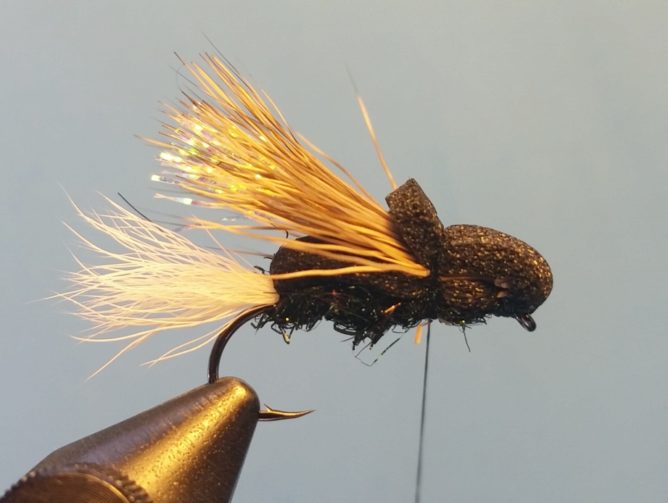 Step 9. Pull the foam back over the top of the deer hair and secure with a few wraps.
Trim the foam so it extends just a bit.
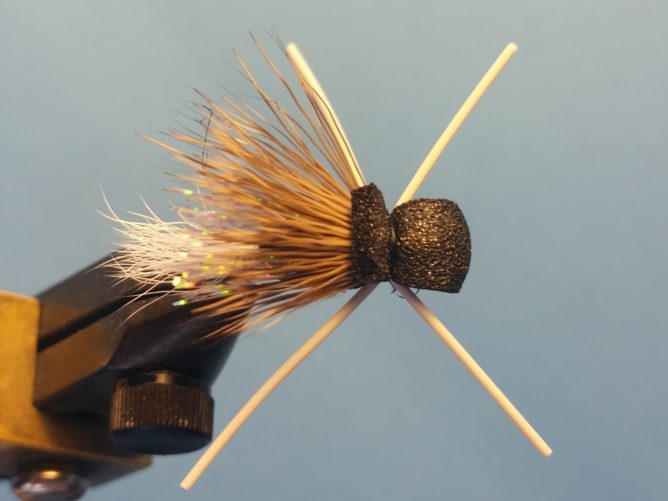 Step 10. Tie in a rubber leg on each side of the fly and trim. The front legs should be slightly
shorter than the rear legs. Whip finish and apply two coats of water-based head cement to the thread wraps.
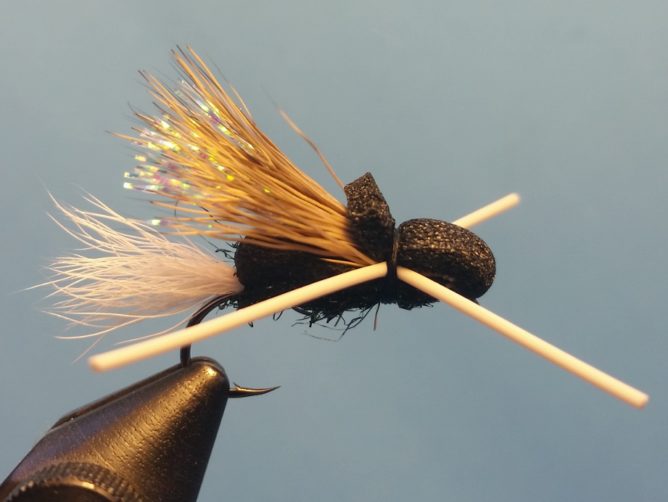 Finished “Improved Michigan Skunk”

