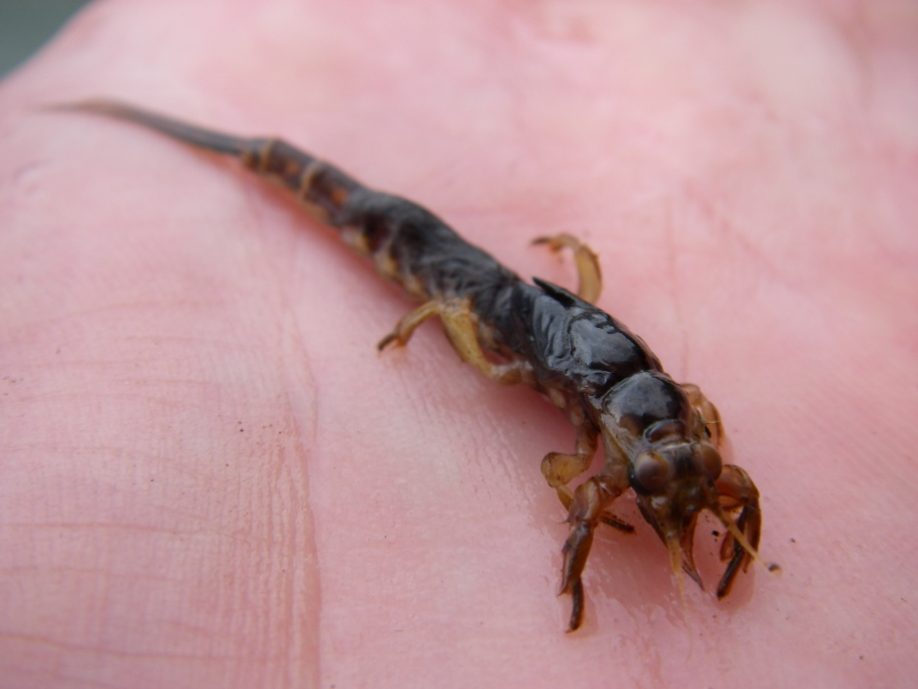
Hex nymphs are important to Michigan fly fishers because their distribution density is vast, the physical size is easy to see and calorie-rich, and the realistic swimming movement all contribute to its success. Steelhead anglers know this pattern to work extremely well fall through spring just as trout anglers know its importance come June when the nymphs get active just prior to the celebrated hex hatch.
There is no shortage of existing hex nymph patterns that any search engine query will turn up, however a number of requests from customers asked if I would demonstrate this pattern after their success using it. This version is mostly a slight adaptation to Andy Burke’s Hex Nymph that I first learned to tie in Randall Kaufmann’s book Tying Nymphs in the early 90’s.
Feel free to make variations of this pattern for your needs – ideas include tying some with lead wire, using different dubbing materials, altering the hook and the thorax region to make it an emerger pattern for trout.
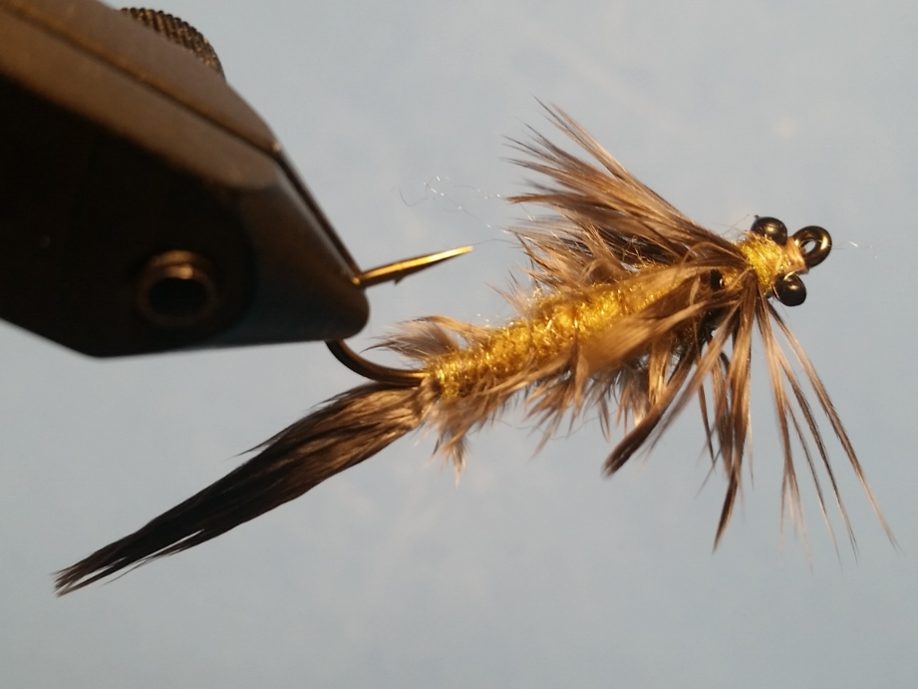
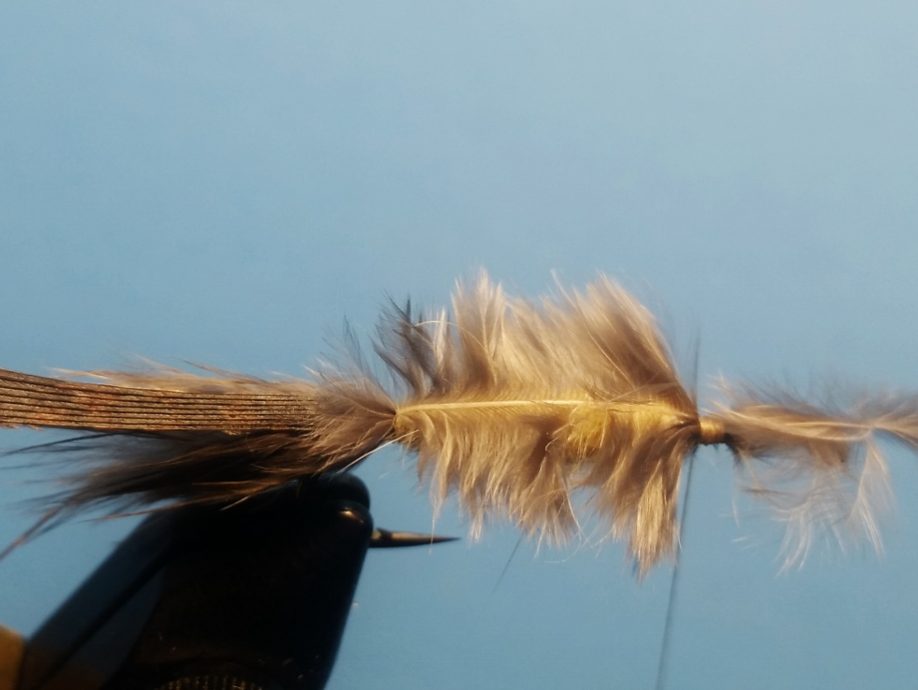
The materials offer a lot of movement to imitate the natural’s “swimming” motion – in fact, I tie a slightly longer tail to enhance the movement. The gills provide another element of realism while the silhouette also suggests a goby. Tying some hex nymphs using Antron dubbing offers a little sheen to the hex nymph but you will find both color variations in my fly box when fishing both steelhead and trout.
While I like the curve/bend of the original Tiemco 200R hook for trout fishing, I find that when fishing steelhead the hook sometimes bends or breaks when lifting the fish at the side of the boat. The Daiichi 1720 has been a great substitute but without the good looking curved shank. For an emerger (see photo at the bottom of page), the Tiemco 5212 is a light wire model that helps it float/sit in the film.
An advantage fly tyers have is they can tie variations not available commercially. Since hex nymphs reside in lakes and rivers for two years, they range in size, yet fly shops pretty much only offer large patterns. Try tying this in smaller sizes – say as small as #10 – to imitate the juvenile hex nymphs, but will also suggest other decent sized nymphs also found in the river.
Recipe
| Hook: | Daichi 1720 #6 |
| Thread: | Uni 6/0 – Tan |
| Tail: | Gray Marabou from Pheasant or Grouse skin |
| Back: | Turkey Tail treated with Flex Seal |
| Gills: | Aftershaft feather from Pheasant or Grouse |
| Rib: | Gold Wire – Small |
| Abdomen: | Rabbit Dubbing – Cream |
| Thorax: | Rabbit Dubbing – Cream |
| Wingcase: | Turkey Tail treated with Flex Seal |
| Legs: | Hen Saddle Feather – Grizzly |
| Eyes: | Mono – Black, Small |
Tying Instructions
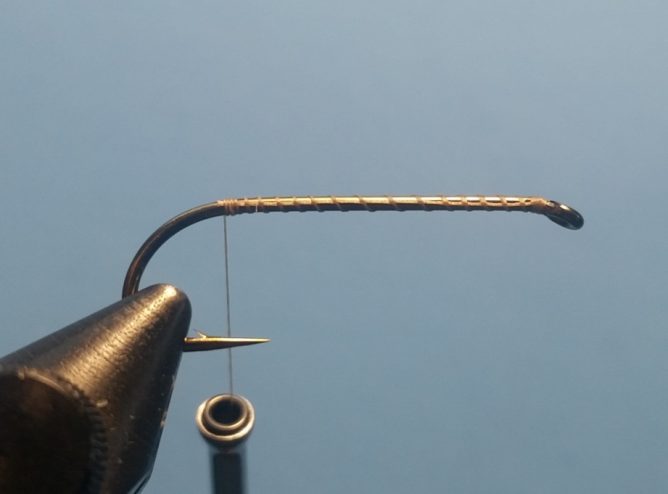
Step 1. Place hook in vise and wrap thread base from behind eye to above barb.
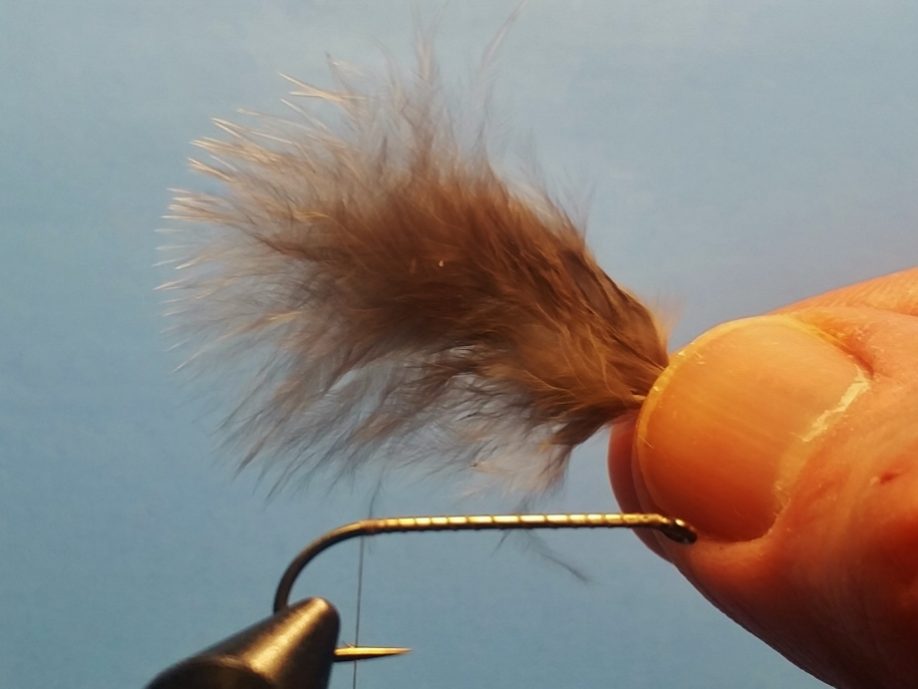
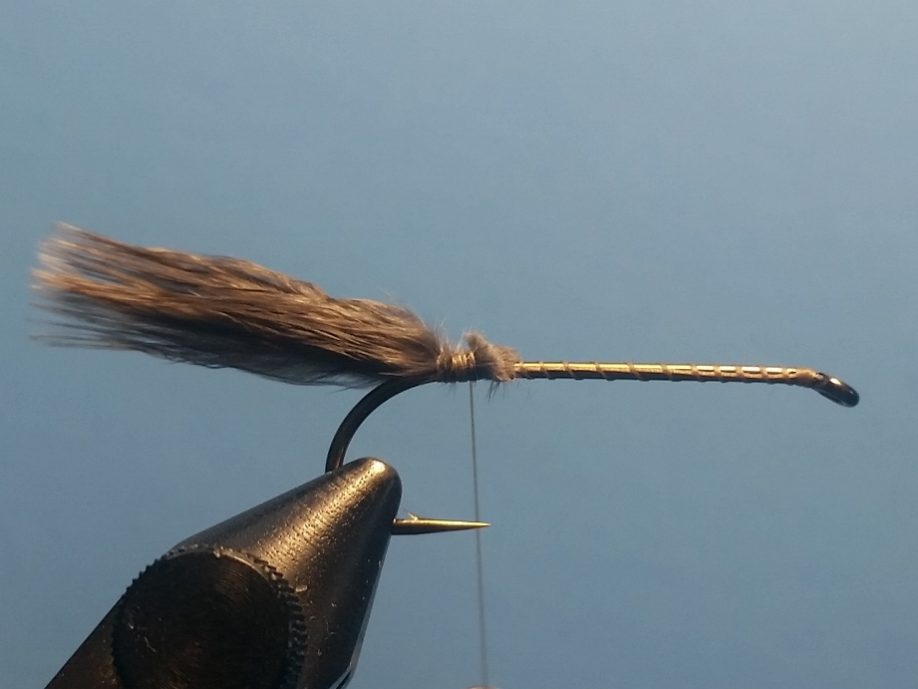
Step 2. Select a small natural marabou feather from a pheasant or grouse skin and tie in
above barb so the natural tips extend rearward one hook shank’s length.

Step 2.5 Optional. If you want a lead underbody, wrap .025” wire about 1/3rd of the way behind hook eye.
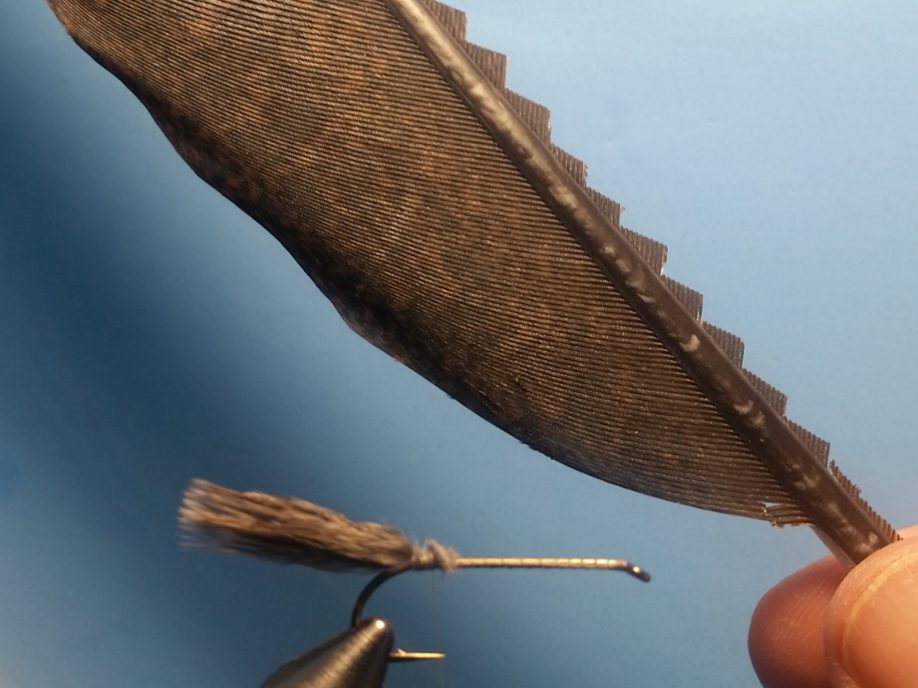
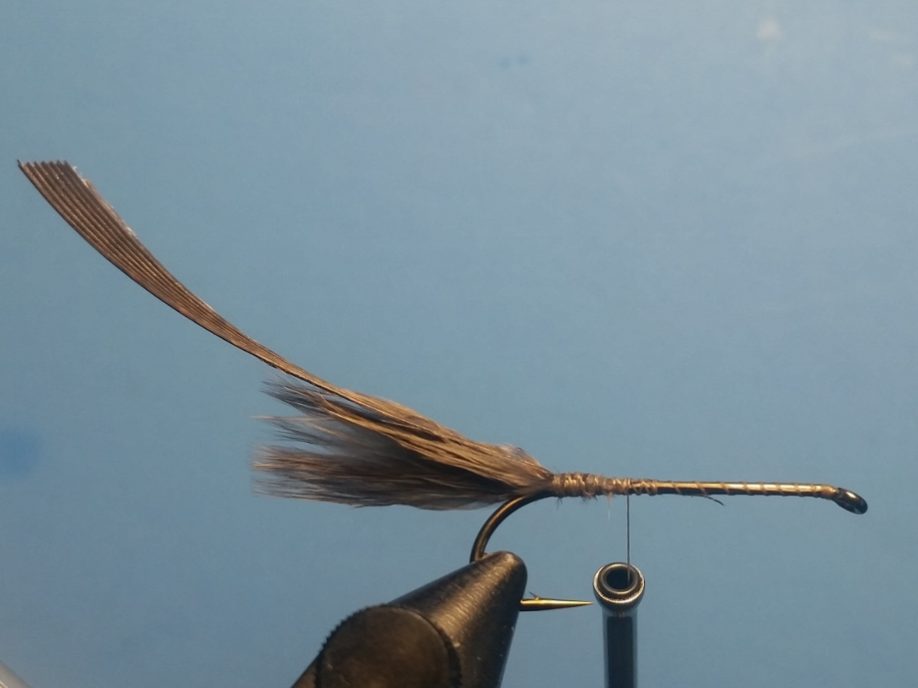
Step 3. Cut a narrow piece of turkey tail feather that has been treated with Flex Seal.
Tie in the narrow end with the treated side of the feather facing up. An non-recommended alternative
to using a treated turkey feather is using Thin-Skin.
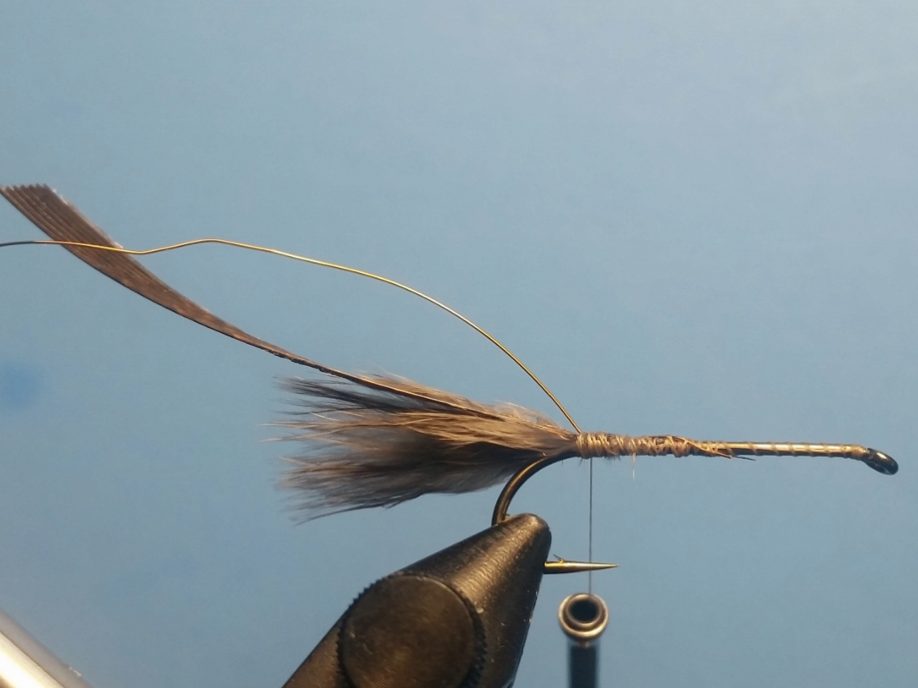
Step 4. Tie in wire.

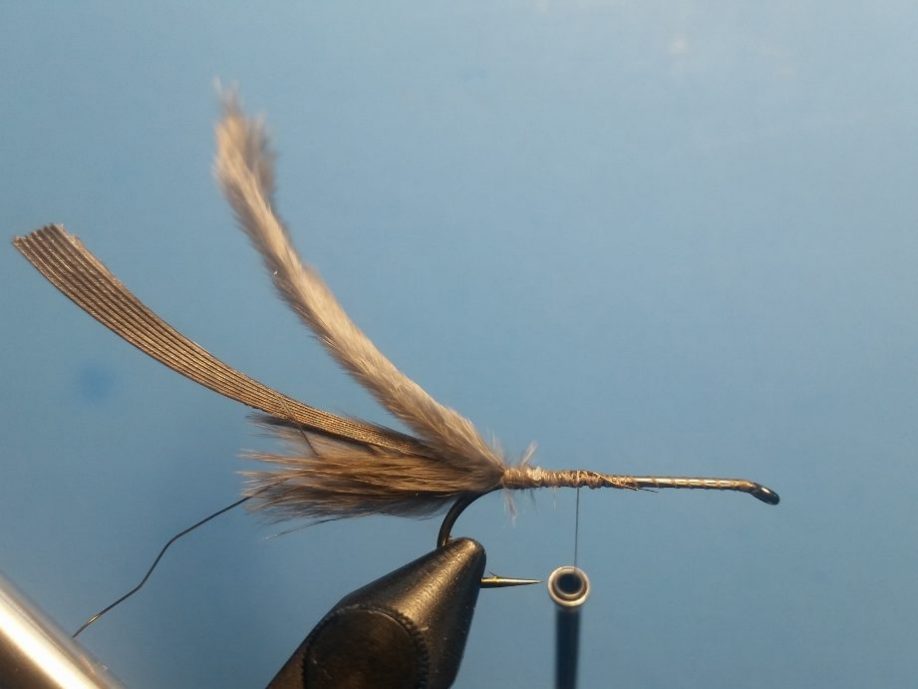
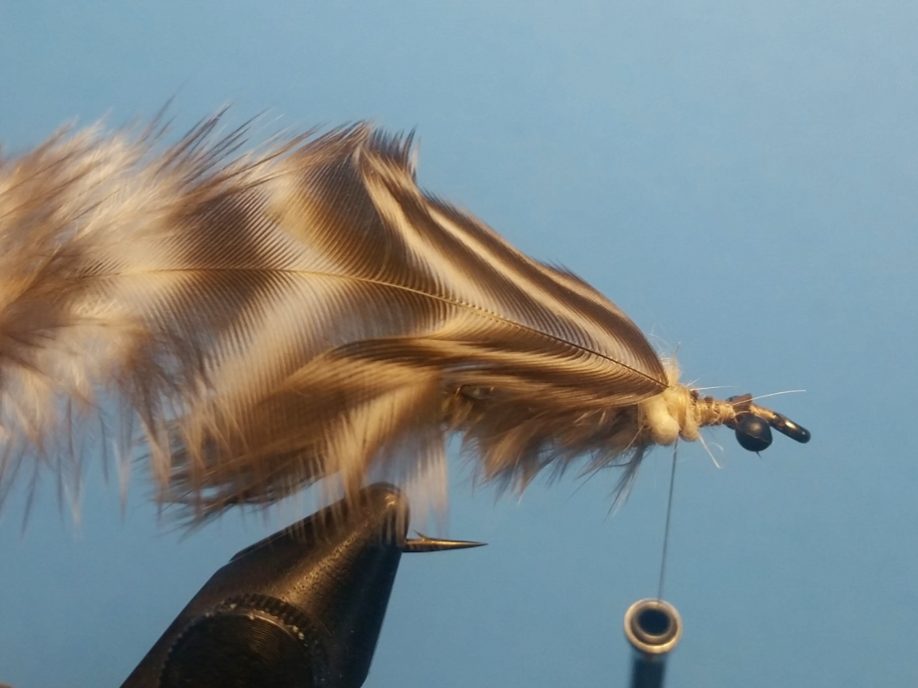
Step 5. Tie in aftershaft feather at its base. These are delicate so use care.
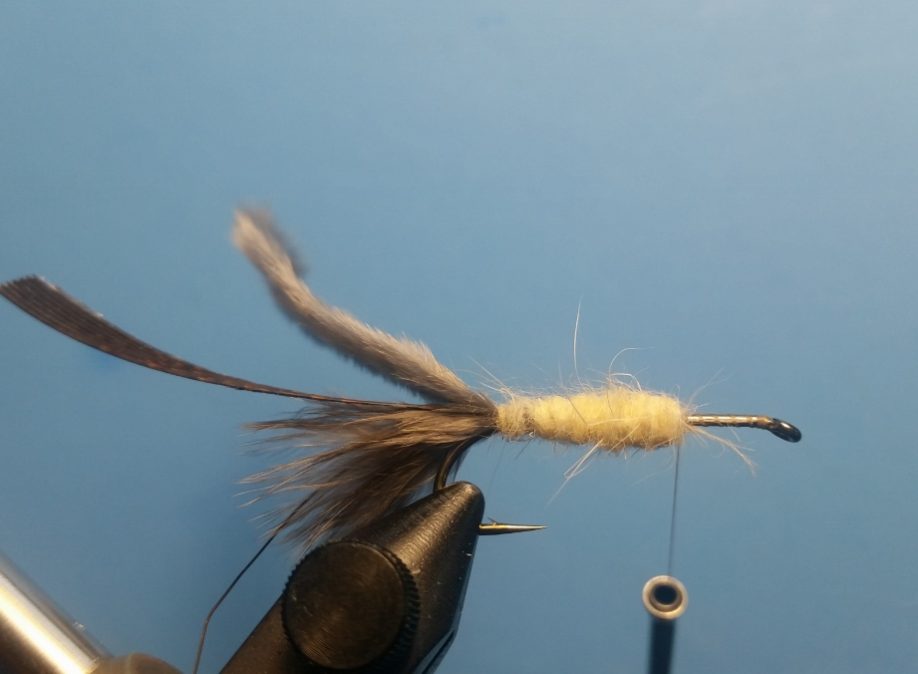
Step 6. Dub a slightly tapered abdomen stopping about one hook gape’s distance from the hook eye.
Step 7. Carefully lay the aftershaft feather over the abdomen and tie down and trim.
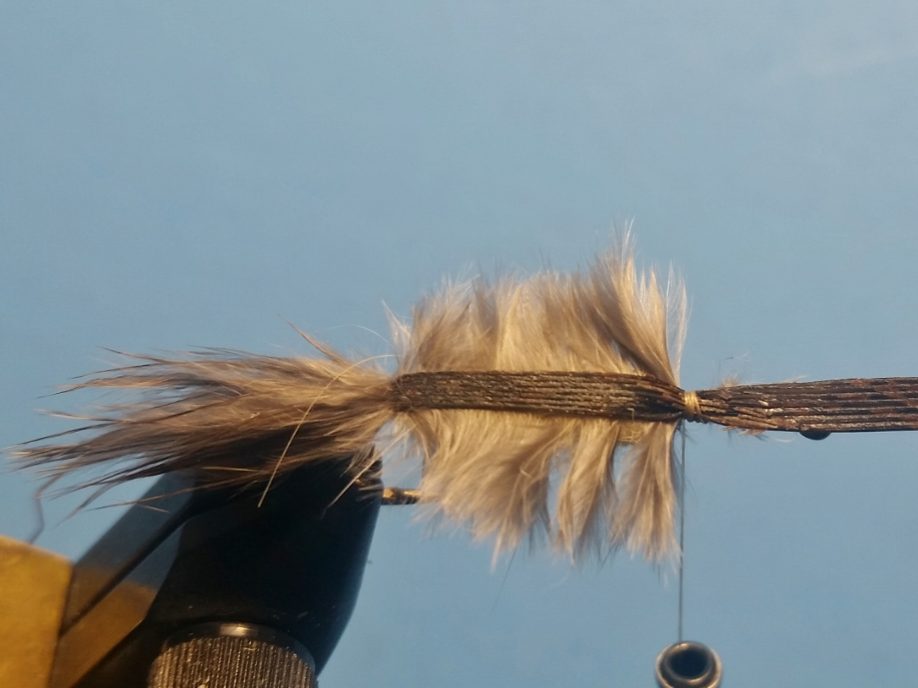
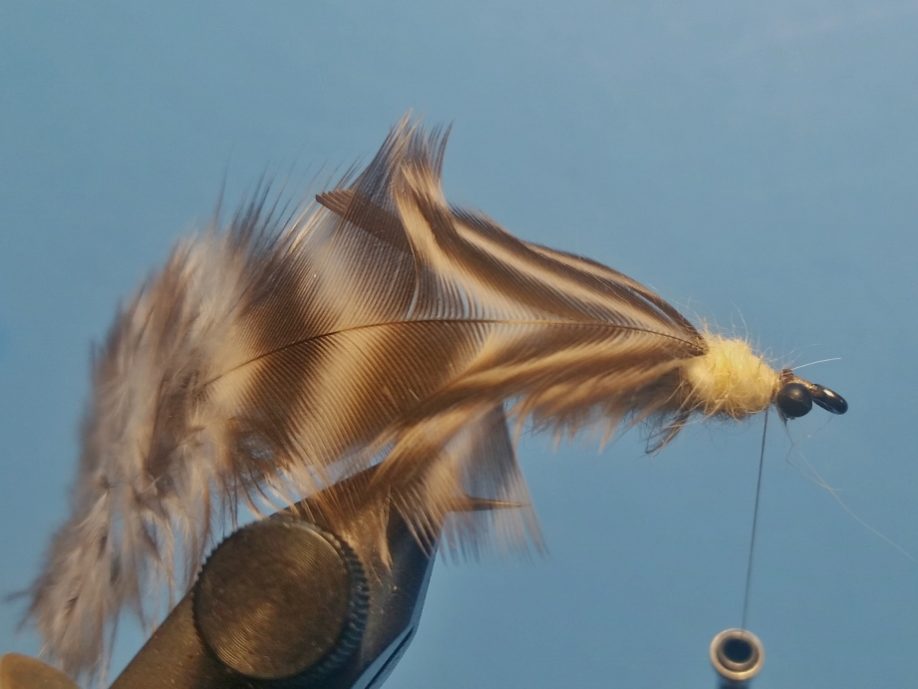
Step 8. Pull the turkey tail over the aftershaft and tie down. Do not trim the excess feather.
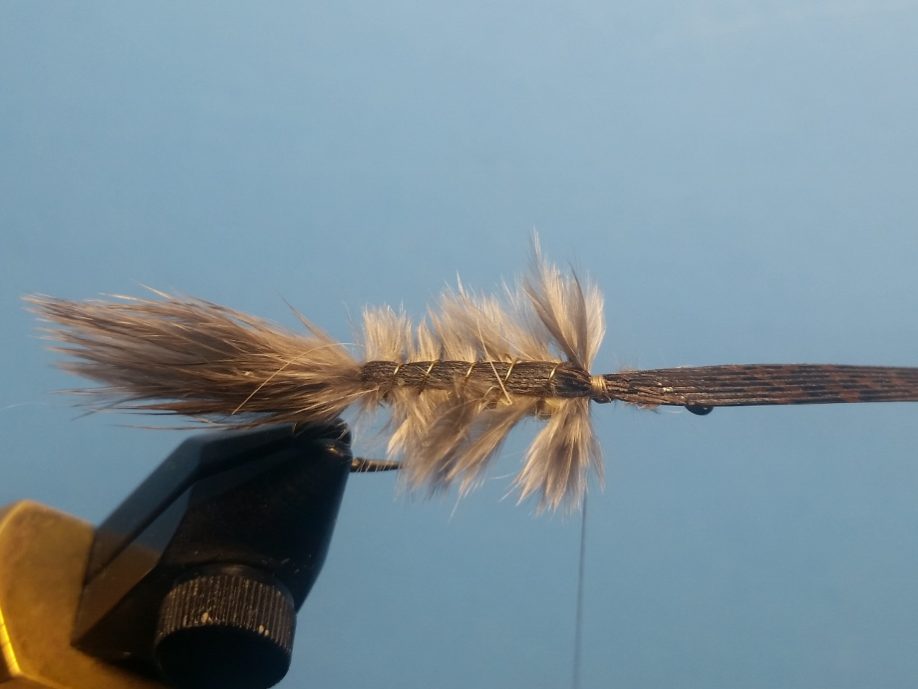
Step 9. Wind the rib through the abdomen being careful not to trap the aftershaft feather fibers. Tie off and trim.
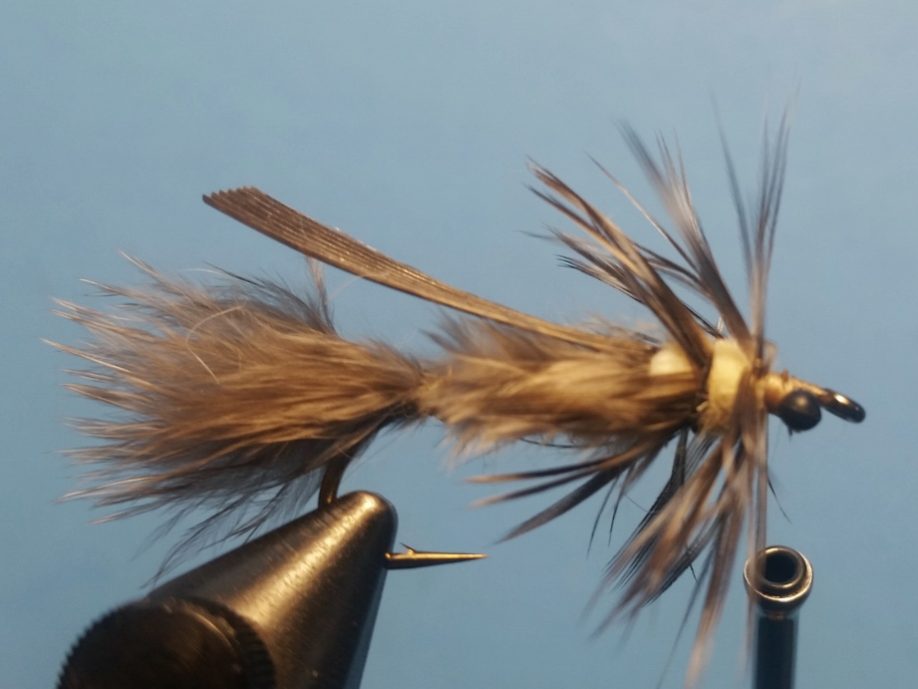
Step 10. Fold the turkey tail over the back and secure with a few wraps – this will be your wingcase.
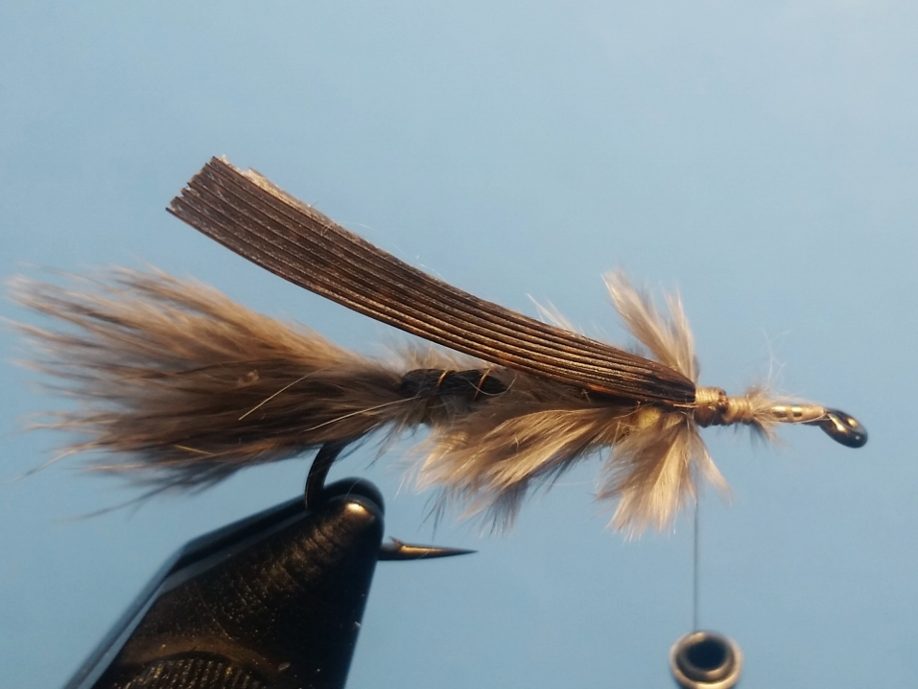
Step 11. Dub a short section but large diameter thorax. This should be thicker than the abdomen.
Tie in mono eyes just behind hook eye.
Step 12. Tie in Hen Saddle Feather by the tip
Step 13. Dub the rest of the thorax but not up against mono eyes.
Step 14. Wind Saddle Feather about 2 times through thorax and tie off, trim.
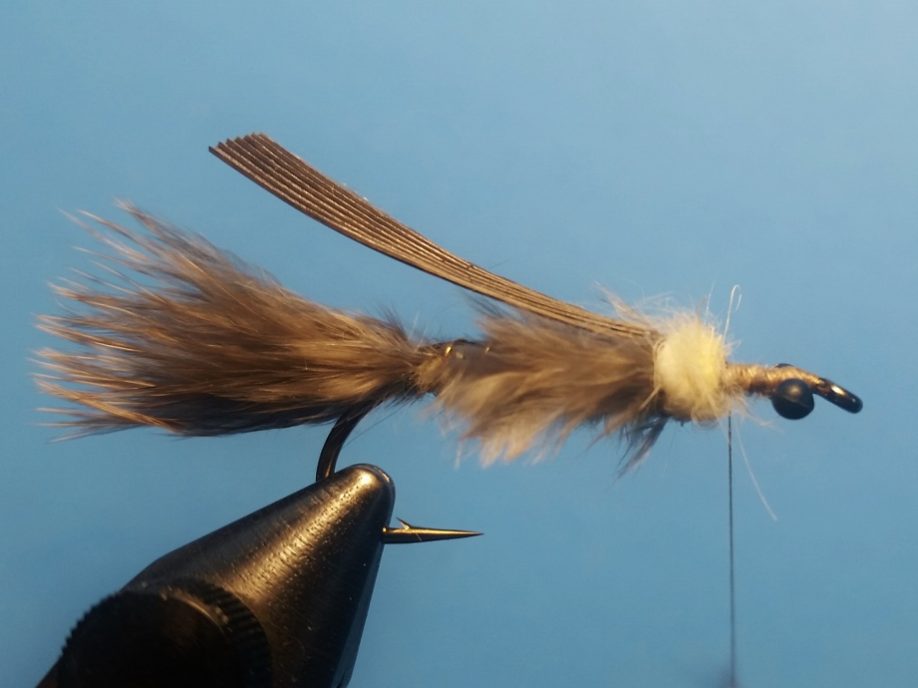
Step 15. Lightly dub around the mono eyes.
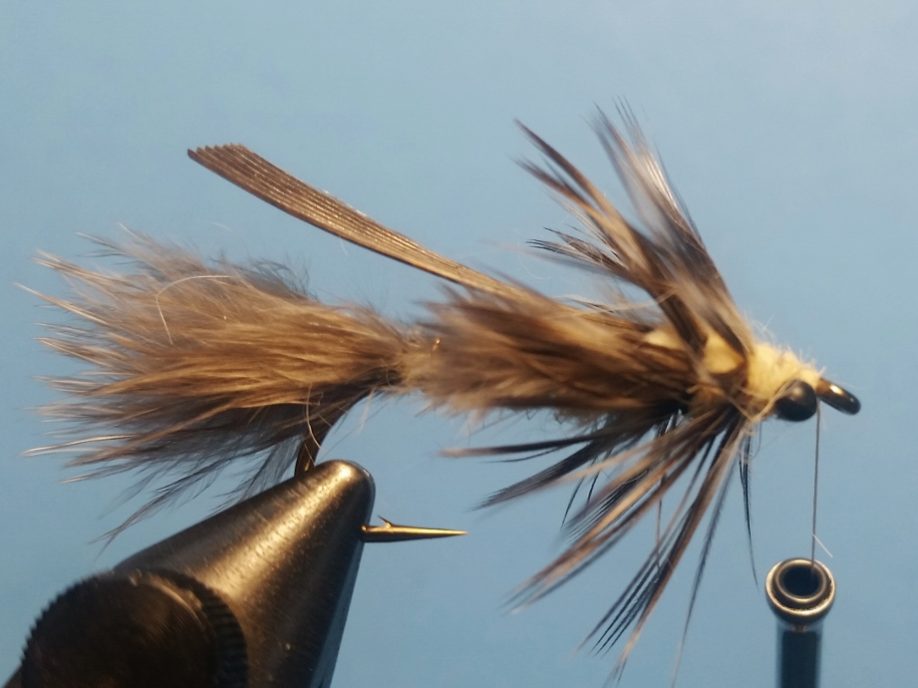
Step 16. Pull pheasant tail over the thorax making sure the
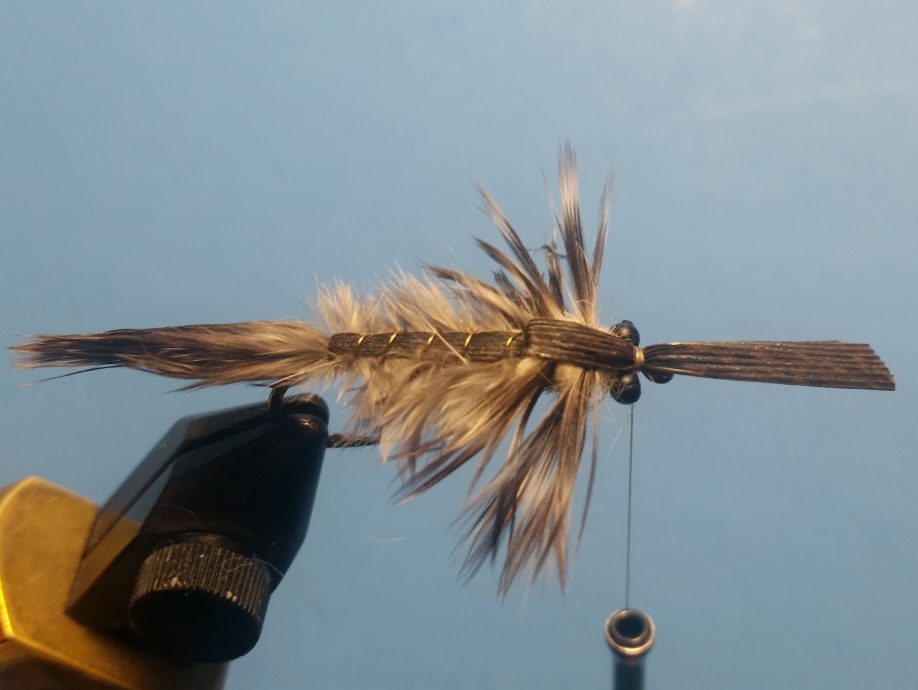
saddle feather is evenly distributed to each side. Tie off and trim.
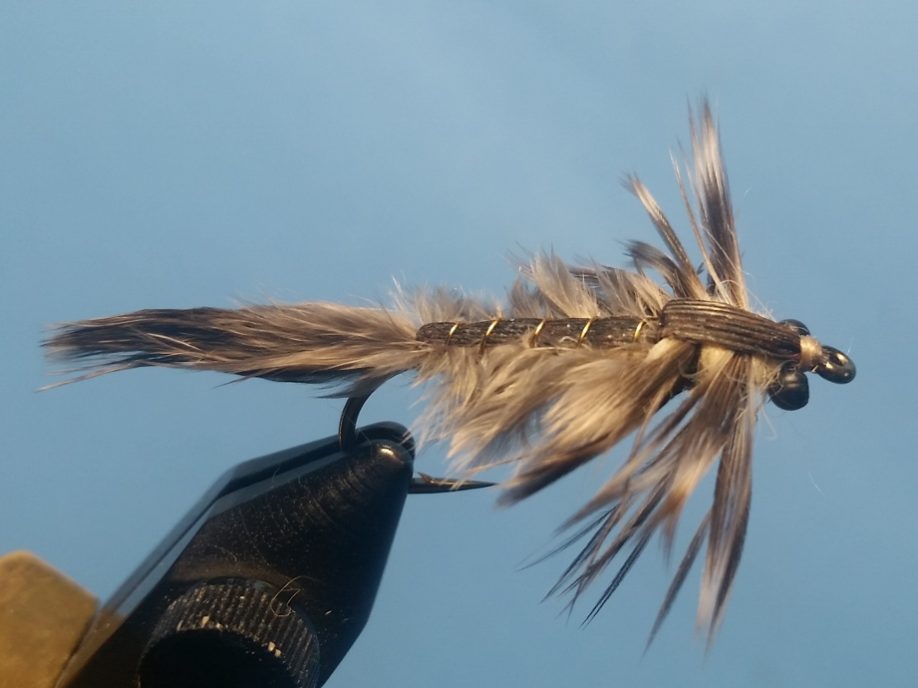
Finished Hex Nymph
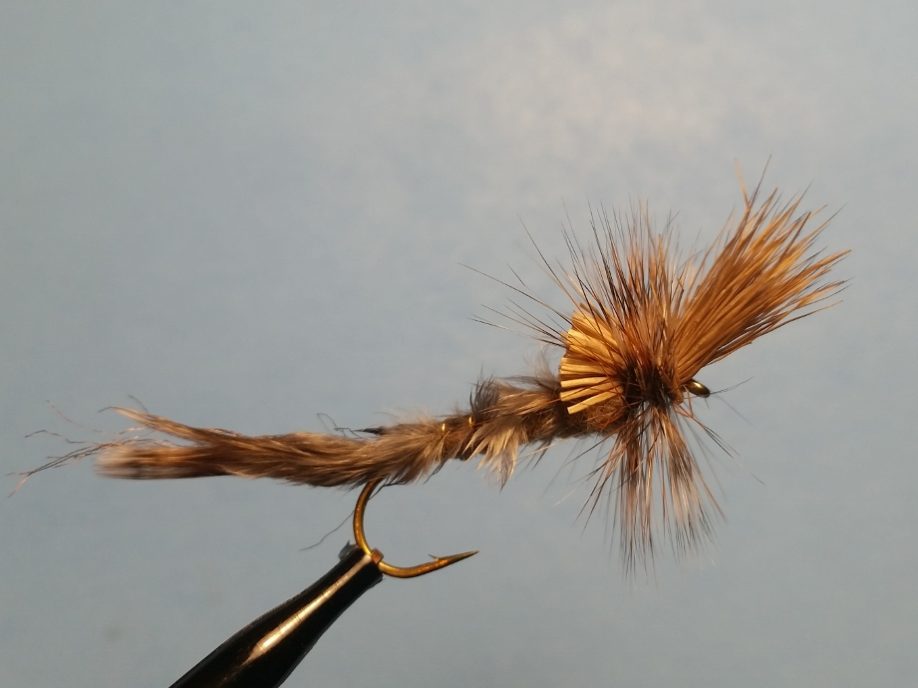
This version of a Quigley Cripple adds a sparse amount of Z-lon to the tail and omits the wingcase.
In the thorax region, use stacked deer hair and a brown and grizzly hackle.