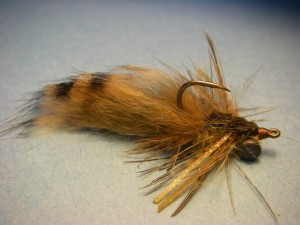
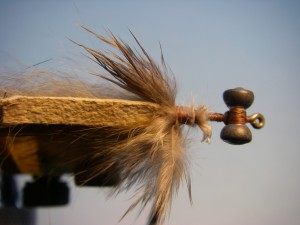
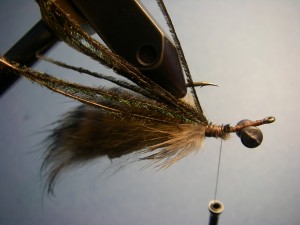
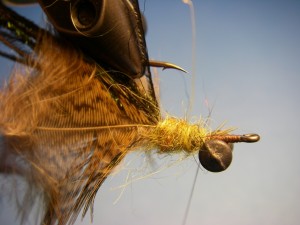
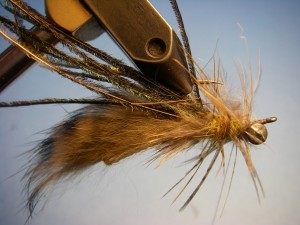
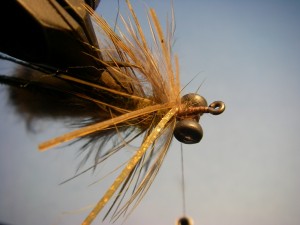
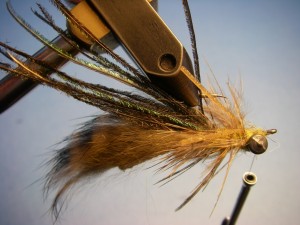
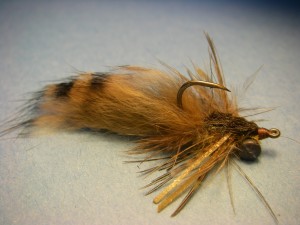
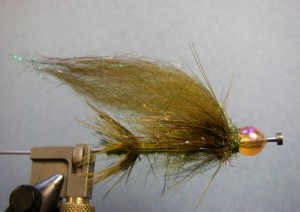
This fly pattern is used when swinging for steelhead, commonly with a sink-tip fly line on either a single-handed or two-handed rod. The Tube Sucker is not a realistic imitation of a particular “thing,” but rather a pattern that suggests sculpins, gobies and small baitfish – all important foods to steelhead. The color spectrum, amount of flash, motion/action and silhouette are key characteristics that make this an effective pattern. The majority of the steelhead showing up in our rivers in the spring for their spawning ritual, or in the fall where they take advantage of the salmon spawning and their eggs dislodged and drifting downstream. With this in mind I have incorporated a plastic bead on the front that suggests and egg while adding a “trigger,” borrowing the idea from the egg sucking leech pattern which has been around for decades.
This style of steelhead fly may be somewhat unique to many of you, since it is partially a streamer/wet/spey fly – different than what you might be accustomed to using for steelhead. Most anglers in the Midwest spend the majority of their angling time drifting nymphs and eggs, as no one will argue their effectiveness. Over the past five years or so, spey or two-handed (including switch) rods have gained popularity and more and more anglers are opting to catch fewer fish by using a more “traditional” presentation – swinging. I don’t dare proclaim which – if any, is a better or superior way to fish, etc. but I will say, this is a great pattern that can be used swinging for steelhead and the feeling of accomplishment after landing a steelhead on a swung fly is beyond satisfactory.
This fly also has a unique characteristic – it is tied on a tube. For those not familiar with the concept of tube flies, the angler runs the tippet/line through the tube which the materials are tied onto (think of a small, clear straw) and then ties on a bare hook. There are some advantages to using tubes including:
- The ability to replace dulled or damaged hooks without discarding the fly
- Using weighted tubes which provide the ability to penetrate the water column
- Fish a large fly with a short-shank hook eliminating negative leverage
- Choose to use your preferred hook style to a pre-tied fly
- Save the fly if you hook a snag loosing only the hook by using particular rigging
- Being able to adjust the hook placement – to the fly, hanging back, etc.
- Using “Convertible” or Modular patterns by incorporating various tube sections
- Painted/colored tubes that minimize tying materials and steps
- And more……
Try tying on tubes – the blanks/tubes are less expensive than most hooks, and the vise adapter is easy to use and priced fairly – I prefer the HMH Premium Tube Fly Tool. Adapting some of your favorite patterns by tying them on tubes as well as creating new patterns – the possibilities are endless. Tubes are no replacement of traditional hooks, however they offer flexibility for certain situations which make them more than ideal. Have fun.
Tube Sucker Recipe
Tube: Plastic, 3/32” – aprox. 3 inches in length
Bead: Pucci – 8 mm Orange/Pearl
Thread: Uni 6/0 Camel
Tag: Simi-Seal Dubbing – Canadian Olive
Rear Hackle: Pheasant – Shoulder Feather
Body: Simi-Seal Dubbing – Canadian Olive
Weight: Lead Wire .030
Front Hackle: Pheasant – Shoulder Feather
Under Wing: UV Polar Chenille – Rusty Copper
Wing: Brown Sheep Hair
Flash/Accent: Wing ‘n Flash – Copper, Kelly Green, Dark Brown
Collar: Large Pheasant Shoulder Feather
Head: Ice Dub – Copper
Tying Instructions
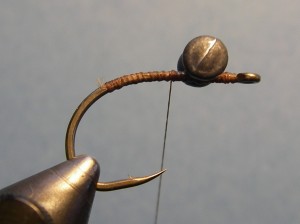
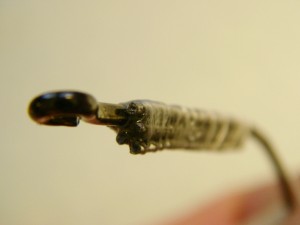
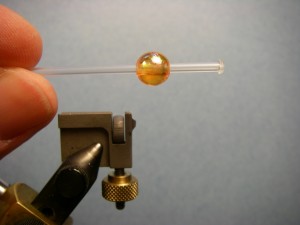 Step 1. Cut plastic tube to length – 3 inches. Use a lighter and put a shoulder on the front
end of the tube. Do not touch the flame to the tube; rather use the heat to melt it, which will
eliminate black carbon in the tube. Insert bead on to tube & slide up to shoulder.
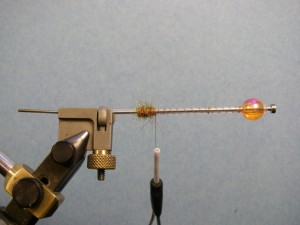 Step 2. Insert mandrel into tube and put into the vise/tube adapter. Wrap a base layer of thread from
behind the bend, back along the tube but not covering the last ½ inch. Dub the tag of about ¼ inch.
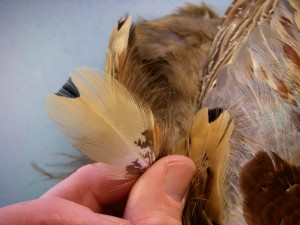
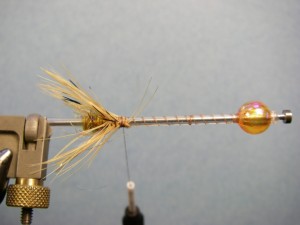 Step 3. Tie in a short, pheasant shoulder feather – it should be gold in color
with a black “V” at the tip. Wrap/fold the hackle forward two turns and tie off.
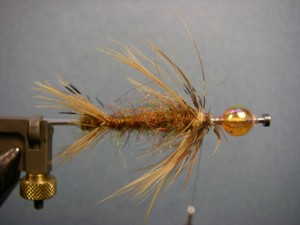
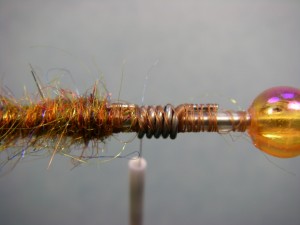 Step 4. Tie in lead wire about two-thirds of the way towards the bead. Wrap five times. Return your
thread back to the rear hackle and dub a “shaggy” body slightly tapering larger toward the bead.
Step 5. Choose a pheasant shoulder feather that is larger than the rear
feather used. Tie this in by the tip and wrap/fold two times. Tie off.
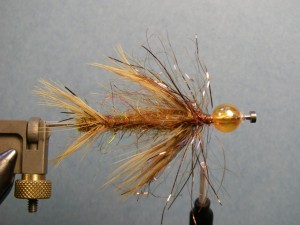 Step 6. Tie in Polar Chenille and wrap twice. Tie off.
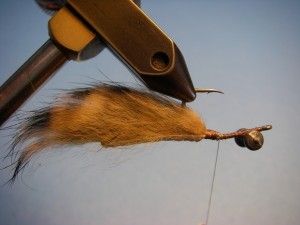
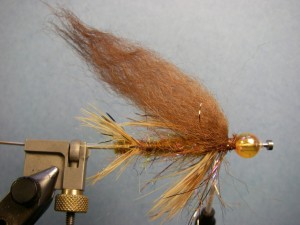 Step 7. Choose a long piece of sheep hair and cut a clump off of the hide. You might find a comb
is helpful to straighten the hair. Cut to length (tip to butt should be slightly longer than the
tube itself) and tie in. If fishing slow water, consider using arctic fox fur rather than sheep.
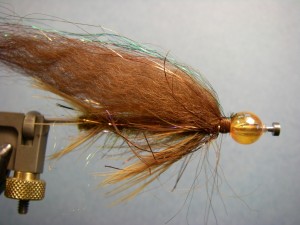 Step 8. Use just a few strands of copper Wing ‘N Flash and tie in so it extends about the length
of the wing/sheep hair. Repeat with kelly green. I like to use a hint of flash, not a bold swath in
this pattern. If the flash is longer than the wing, trim it so it all isn’t the same length.
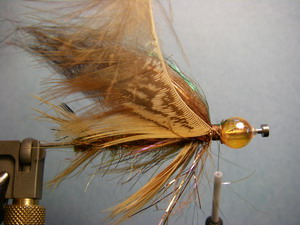 Step 9. Tie in another pheasant shoulder feather – this time one that is even larger
than the last. You will tie this in by the tip but you will need to strip the left side of
the fibers off so the hackle is more of a flowing collar. Wrap twice and tie off.
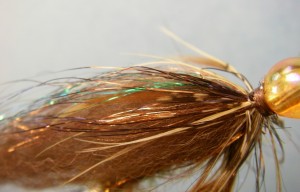 Step 10: Tie in a few strands of dark brown Wing ‘n Flash as a topping.
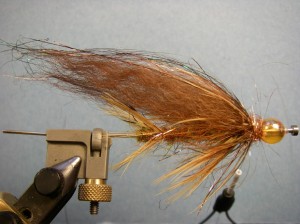 Step 11. Loosely dub copper Ice Dub between the fly and the bead. Tie off/whip finish.
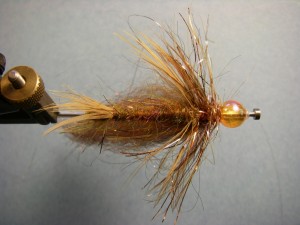 Step 12. Turn fly upside down and trip the underside of the
front two pheasant feathers to accentuate pectoral fins.
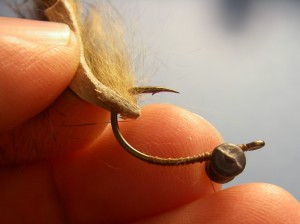
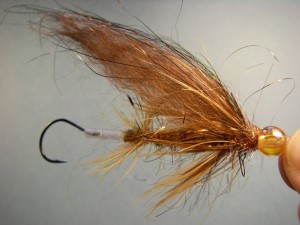
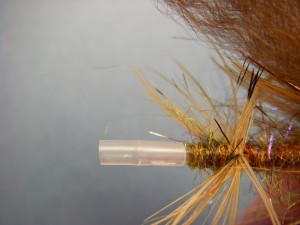 Step 13. Add junction tubing over the rear of the tube. This will seat the hook to the fly and
when hooked-up with a fish, it pops out offering you the advantage of playing a fish on a short-shank
hook. I prefer silicone tubing as shown. The hook pictured above is a Gamakatsu Finesse Wide Gap – #4
– lately my preference has been a Gamakatsu Drop Shot Hook – #2 or 4.


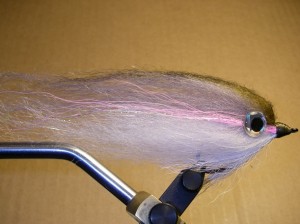
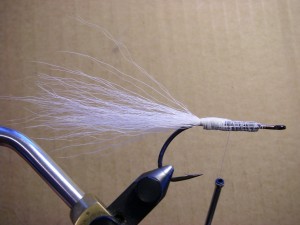 Step 2. Tie in a clump of Bucktail that will extend almost as long as the
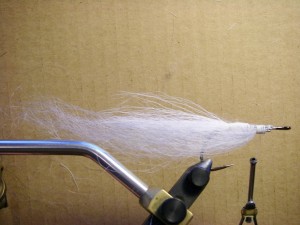 Step 3. Tie in the bottom body hair – this is Shad Gray from Wapsi. Start with
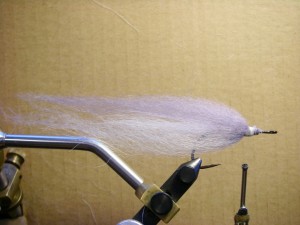 Step 4. Tie in Silver Gray (Hareline) Sheep Hair on the top
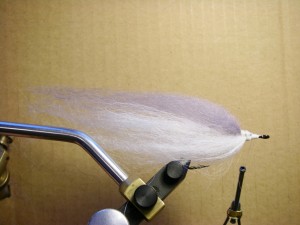 Step 5. Tie in the second section of Sheep Hair on the underside – white.
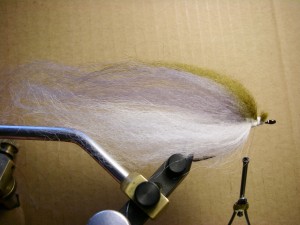 Step 6. Tie in the second Section of Sheep Hair on top of the hook – a mix of Silver Gray and Olive Brown.
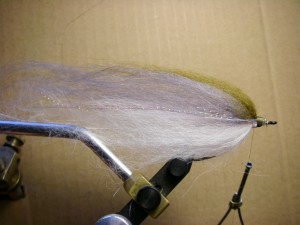 Step 7. Tie in a strand or two of Krystal Flash and some subtle flash material like Angel Hair
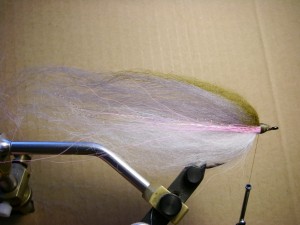 Step 8. Tie in a small section of pink deer hair on each side. Not only does this give
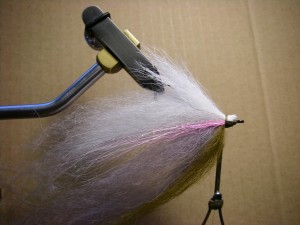 Step 9. Tie in a clump of White Calf Tail for a throat. The tips should extend downward
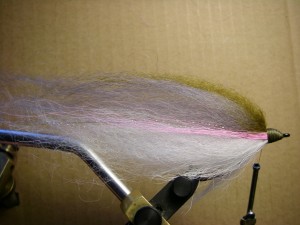 Step 10. Build a large head of thread to behind the hook eye and whip finish a few times to secure.
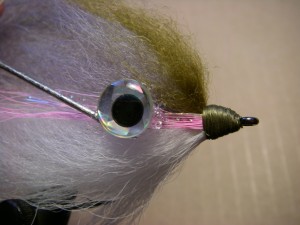 Step 11. Apply Super Fabric Textile Adhesive with a bodkin just above center on the material and
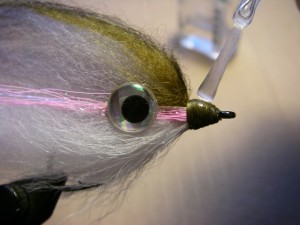 Step 12. With the hook in the vise, apply a light coat of nail polish and then dry on a drying wheel. If you don’t
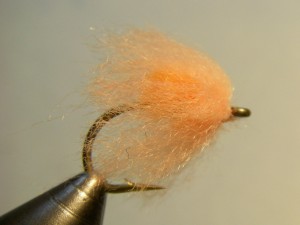
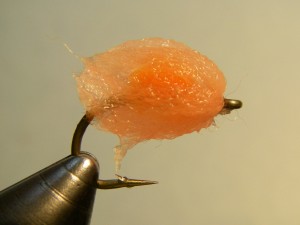
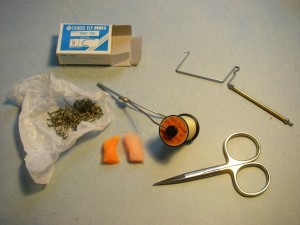
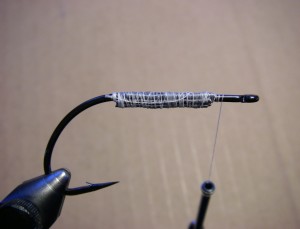
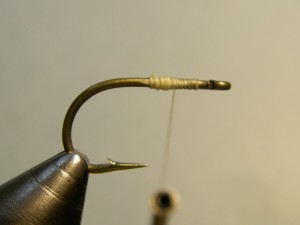 Step 1. Put hook in Vise and wrap a thread base from eye back to just above hook point.
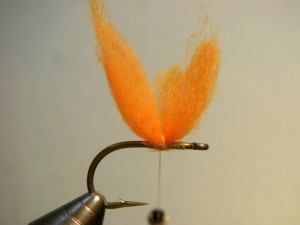 Step 2. Take a very small amount of yarn for the nucleus – aprox. the diameter of your whip
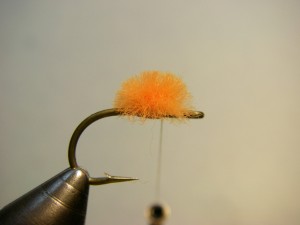 Step 3. Hold both ends of nucleus upward and trim very close to the hook shank – aprox. 1/8”.
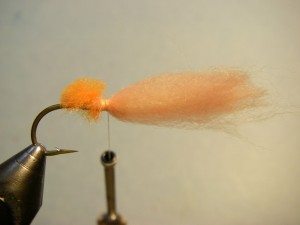 Step 4. Take 1 inch of veil yarn – the amount/thickness should be aprox.
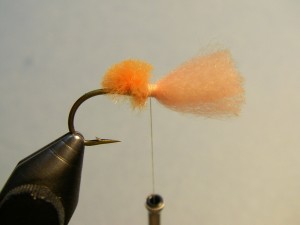 Step 5. Trim yarn so it is aprox. the length of the hook shank from the tie in point.
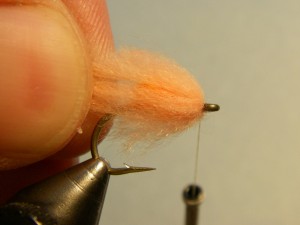 Step 6. Carefully manipulate the veil material backwards – around the thread – evenly surrounding the nucleus.
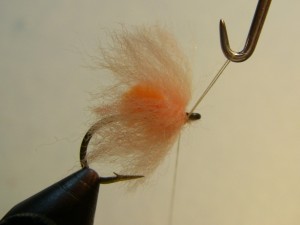 Step 7. Wrap thread a few times between the veil and the hook eye to make